Recently, it was my week to plan a craft for my son’s Cub Scout den. (My blog readers may know me as the “Super Coupon Queen,” but there’s a group of young men who simply know me as their Cub Scout leader! ) I like bargain-priced crafts, especially crafts that require little to no cost. So, a lot of the crafts we make originate with reusable or repurposed materials.
As I pondered over what to make this month, I was reminded of a craft I made as a Brownie back when my mom was a Girl Scout leader. (Yes, this one goes way back!) I believe I was around 7 or 8 years old when we made tin can candles, and so I did a quick web search to see if my juvenile memories of it were correct. Incredibly, I couldn’t find anything online about how to make these, so I’m writing this post to share with you.
Tin Can Candles
You will need:
- One empty canned food can
- A large nail, a hammer, and an old towel
- Wax and wicks (if you want to melt & create your own candles) or tealight candles
Wash and rinse your food can, and remove its label. Make sure your can does not have a plastic or BPA lining — something that wasn’t an issue when I was a kid! If your can has a plastic lining, under no circumstances should you place a candle inside. 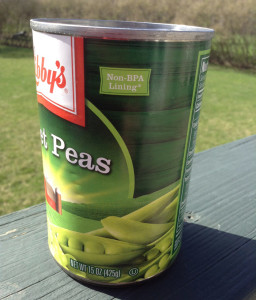 Fill the can with water and place it in the freezer. (If you’re in a hurry, fill the can with ice cubes, then fill with water.) Freeze the can for several hours until the can is filled with solid ice.
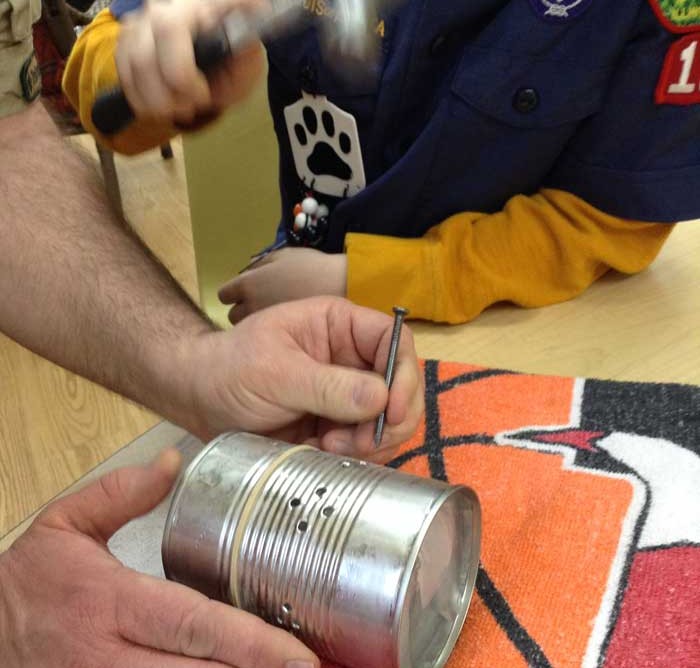
Once the can is frozen, lay it on a, old, folded towel. Use the hammer and nail to pound holes through the can to create a design that the candlelight will shine out of. This part is fun — and noisy! The ice inside the can helps the can keep its shape and prevents it from being dented or crushed by the repeated pounding. That said, do work quickly — you have a limited time to work before the ice melts and/or breaks.
If you plan to melt wax into the can to create a candle, versus setting a tealight inside the can, it’s helpful to put a rubber band around the bottom of the can to mark the height of the wax you’ll melt into it. This gives children (or you!) a visible line to not cross — or, you’ll risk having liquid wax pour out the holes if they’re too low on the can.
Once the design is complete, run hot water into the can to loosen any remaining ice, then dump it out. Use the old towel to dry out the inside of the can. Be VERY careful, as the can will be extremely sharp inside where the metal holes were pounded. (We did have one Cub Scout casualty who cut his hand a little doing this. Use old towels and ONLY old towels, not hands, inside the can.)
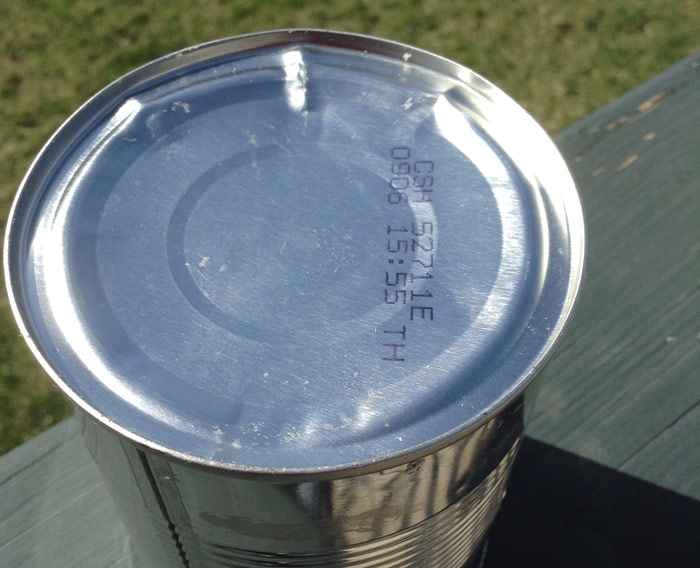 The bottom of your can may have expanded in the freezer. If your can doesn’t sit flat on the table, turn it over and give it a couple of taps with the hammer so that it will sit flat once again. At this point, you can insert a tealight candle into the can and complete the craft, or continue on to pour a wax candle into the bottom of the can.
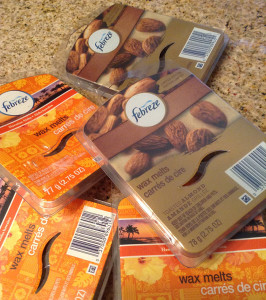
Because I have trouble throwing anything away, I save the old wax from the wax melts I use in my wax melter at home. (Did you know you can simply pour the hot wax back into the trays it comes in?) I’ve used old wax melts to make firestarters with my scouts, but this time we melted the wax and used it to pour candles in our cans. 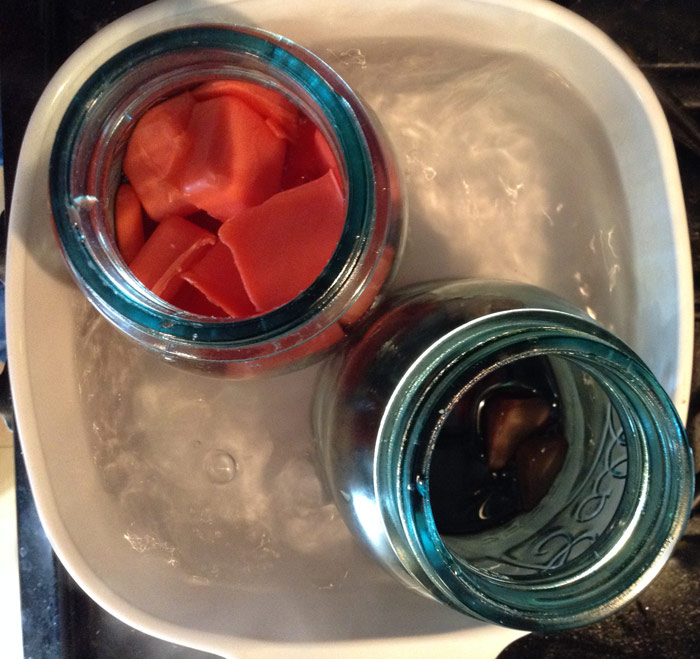 To melt the wax, I put my previously-used wax melts in mason jars, then set them in a water bath on the stove. (Yes, they’re sitting in one of my beloved Corning Ware dishes.) I bought a package of long wicks at a craft store, and we dipped each wick and base in the melted wax, then set it in the can.
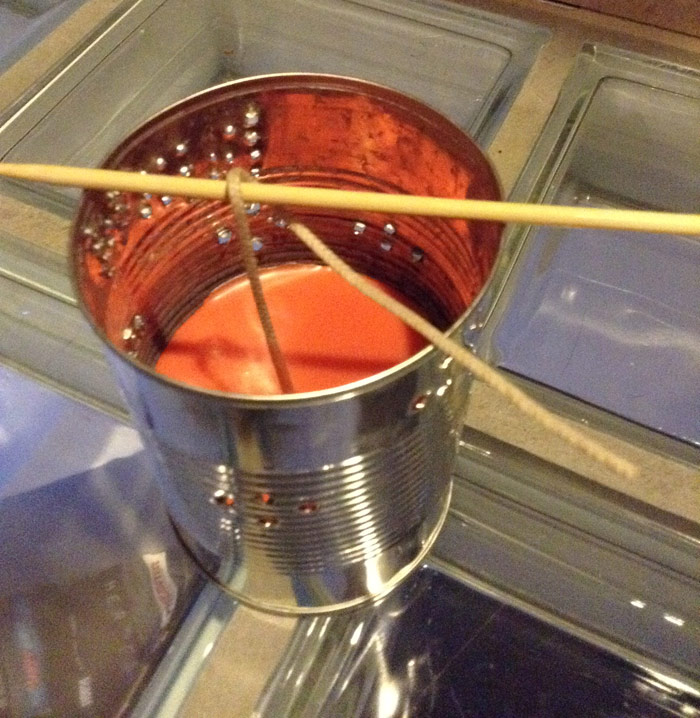
Once the wick was secured, we poured the candles in two steps, waiting about 30-40 minutes between pour. All of the candle-making rules apply here — pour them too quickly, and your candles will sink in the middle, so it’s best to wait in between layers. We wrapped each wick around a bamboo skewer laid across the top of each can, so the wick would continue to stand upright while we poured. Once the candles had hardened overnight, we trimmed the wicks, and the candles were complete.
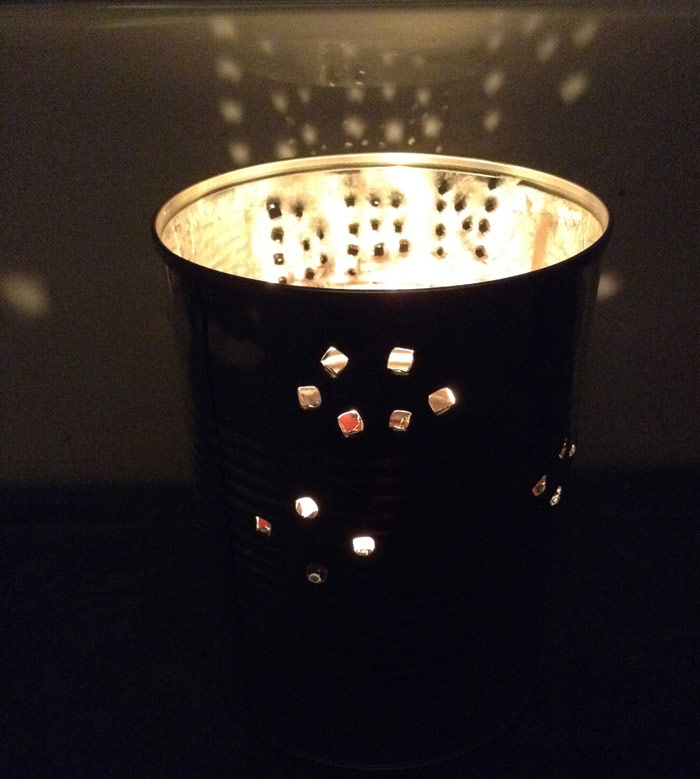
I can’t tell you how much fun this craft is for kids. It’s simple, extremely low-cost — and yet, our scouts said that making tin can candles was one of their favorite crafts we’ve made over the past year!


QueenKitty says
I too was a cub scout leader, when we made our candle tins, I froze water in them to make it easier to pound the nails and just put a votive in the bottom.
Another project we did involving candles, was to take empty quart milk/juice containers and cut off the tops. Place a wick in the middle by dangling it off a pencil and taping the pencil across the top. Fill the container with ice cubes and pour hot wax made with all the leftover candles that you don’t want to burn any more and coloring the unfavorable colors with crayons. It makes a cool lacy candle.
As the boys got older we did cool wood projects and made lamps, birdhouses, and a pine wood derby car holder all using scrap wood.