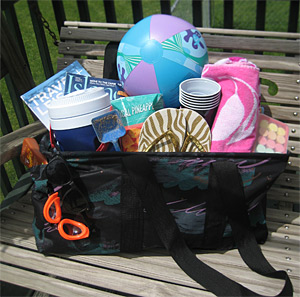
Head to any swimming pool or park this summer, and it’s highly likely you’ll see quite a few large utility totes. These totes have become extremely popular over the last few years. They’re nearly the size of a laundry basket, but they’re lightweight and collapse flat for storage. A steel rectangular frame holds the top in an always-open position, making it easy to grab whatever’s inside without having to dig around for it.
Large utility totes like these don’t come cheap, unfortunately. Thirty-One Gifts, the home party company that popularized this style of bag, sells these for $35 each (though you can sometimes find them cheaper on Ebay.) Target.com also carries them for $32.99. Meijer used to carry them for $24.99, and I picked mine up there on clearance for $11.24 last summer – such a deal.
Aside from finding one on clearance, though, what if you don’t want to spend this much money on a bag? I wondered how much it would cost to simply make one. If you’ve been wanting a large utility tote without spending too much, and you have minimal sewing skills (like me!) read on and learn how you can make your own large utility tote from one yard of fabric for less than $20.
I’ve been thinking about tackling this project due to the number of readers who continue to email asking if I’ve seen any deals on these bags. Sewing a tote bag isn’t difficult, but the rectangular steel frame is what makes these bags unique — it holds the bag open, making it easy to carry and access what’s inside.
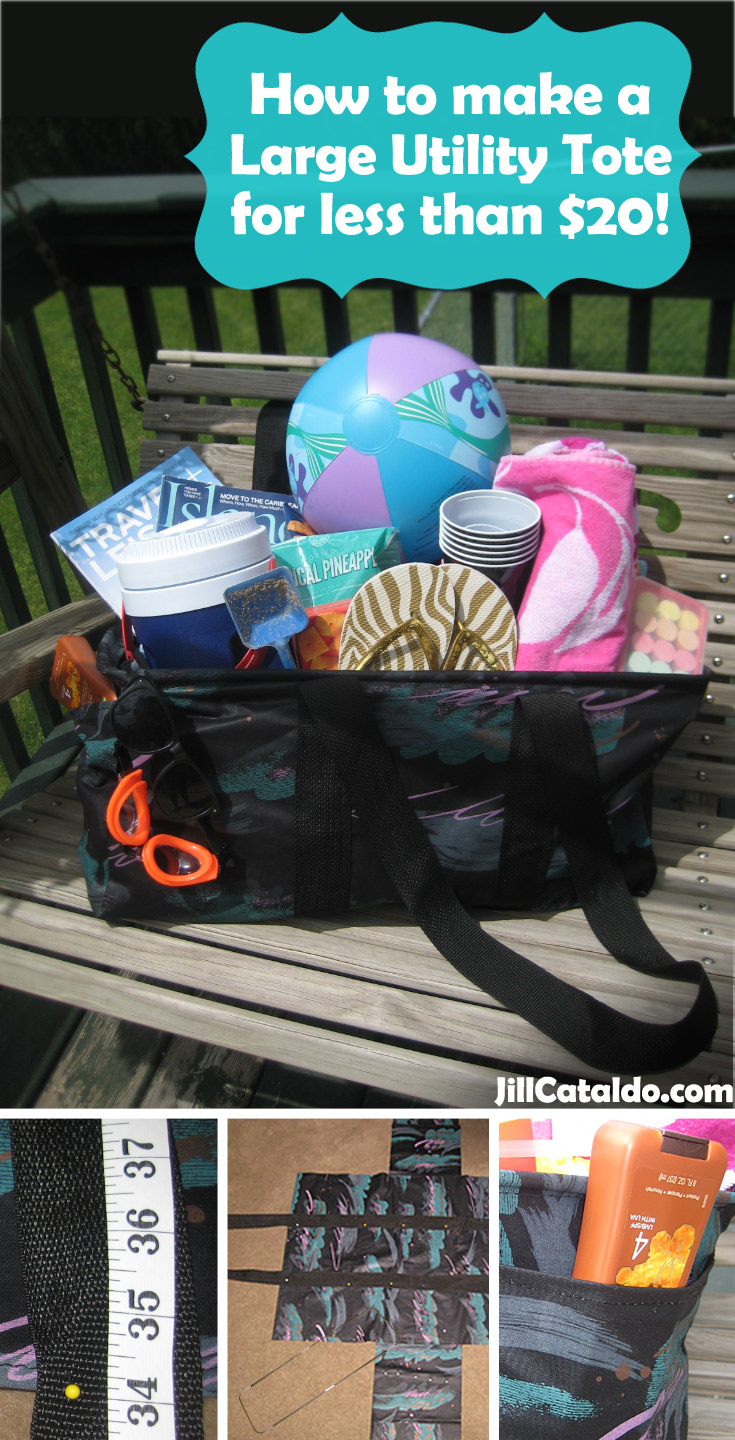

Inspiration struck when I was cleaning out my garage and found two political campaign yard signs from a past election. The signs weren’t what I was interested in — I wanted the frames! I took the two rectangular steel frames, laid them over each other… and suddenly, I knew how I could recreate this great bag on a budget.
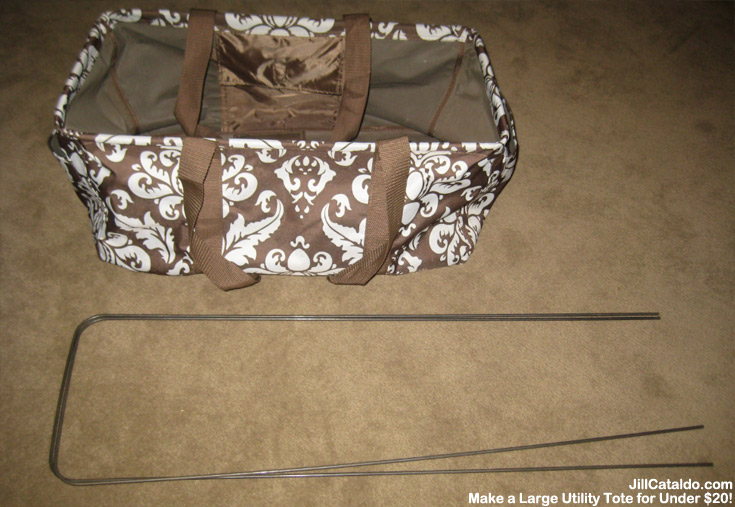
Make your own Large Utility Tote for less than $20
You will need:
- Two 10″ U-shaped wire sign frames
- One yard of heavyweight fabric, such as upholstery or outdoor
- Four yards of 1 1/2″ to 2″ webbing Thread (I used upholstery thread)
- Duct tape
- Other items: Sewing machine, bolt cutter, measuring tape, chalk
- Wire sign frames
While I had wire sign frames on hand, I wanted to create a how-to that anyone could recreate. So, I ordered 10″ U-shaped wire sign frames from VictoryStore.com for .70 each. (While their website says they have a 25-piece minimum, I ordered two with no issues whatsoever, and my order arrived just three days later.) If you have a sign shop near you, you may be able to find these locally and avoid paying for shipping. - One yard of heavyweight fabric
If you sew even semi-regularly, you may have a one-yard scrap of fabric lying around the house. I’m lucky as my aunt, who sews for a living, has bestowed a lot of free fabric scraps on me over the years. I headed to my scrap bag to look for something heavyweight. These large utility totes don’t stand up well on their own without items inside, but they do have a decent amount of stiffness and weight to the fabric too.
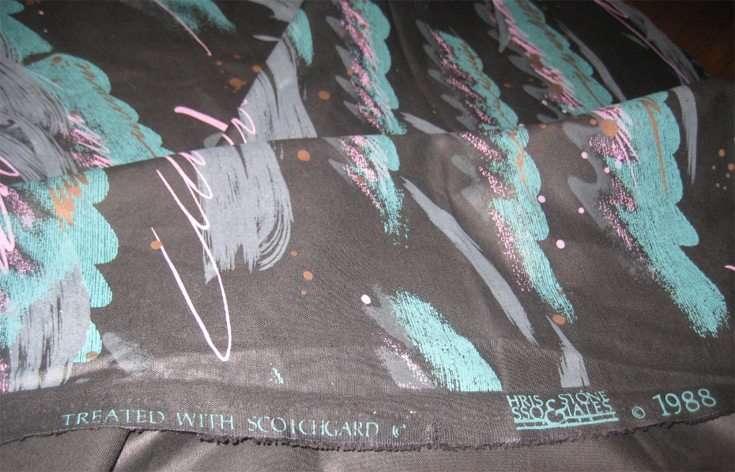
I selected a piece of upholstery fabric with a fun 1980s-style print, and as you can see by the fabric’s copyright date, this isn’t some mediocre ’80s-ish design — it’s the real deal! What would it cost to find a similar-weight fabric?
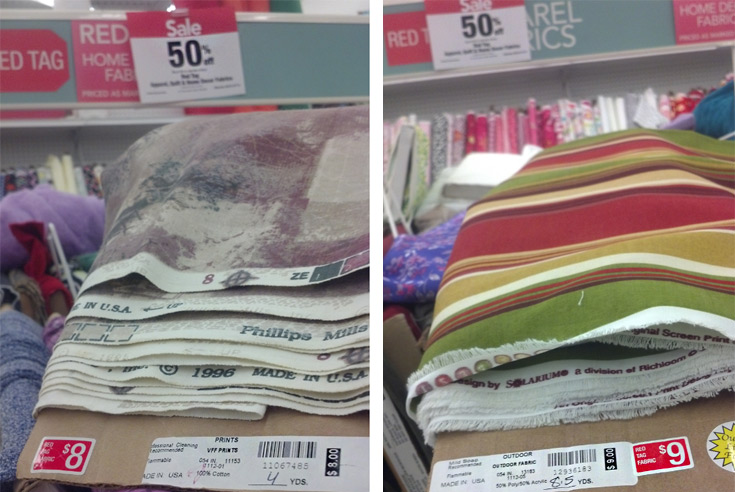
I headed to JoAnn fabrics to check out some prices. Definitely head to the clearance area to keep your budget as low as possible. I found a bolt of upholstery fabric for $8/yard, plus 50% off ($4/yard) and a bolt of outdoor fabric for $9/yard, plus 50% off ($4.50/yard.) I wouldn’t go to the fabric store without a coupon either! JoAnn’s always has 40% or 50% off regular-priced item coupons in their weekly ads. This week, they also have a 10% off your total purchase coupon too, which includes sale and clearance items. You could pick up one yard of the upholstery fabric for $3.60.
Four yards of 1 1/2″ or 2″ webbing
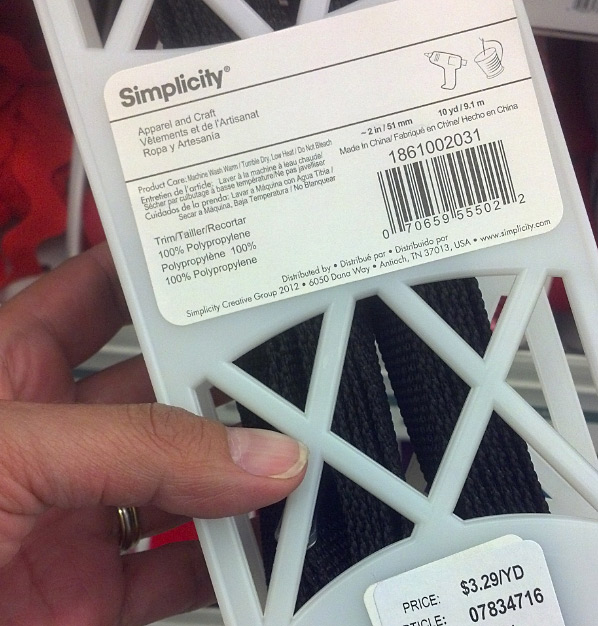
I measured the handle of my existing bag and calculated that I would need close to four yards of webbing for the bag’s handle and side support. The commercially-available large utility totes use 1 1/2″ webbing for the handle and support. My fabric store was out of 1 1/2″, so I went with 2″. This was pricey at $3.29/yard, but with my 40% off coupon, I paid $7.90 for four yards. Thread and duct tape If you already have thread and duct tape at home, you’re good to go. If not, pick some up. I went with upholstery thread for this project as I wanted a strong bag.
Getting started: Step 1: Trim the sign frames to length and create the rectangular tote frame
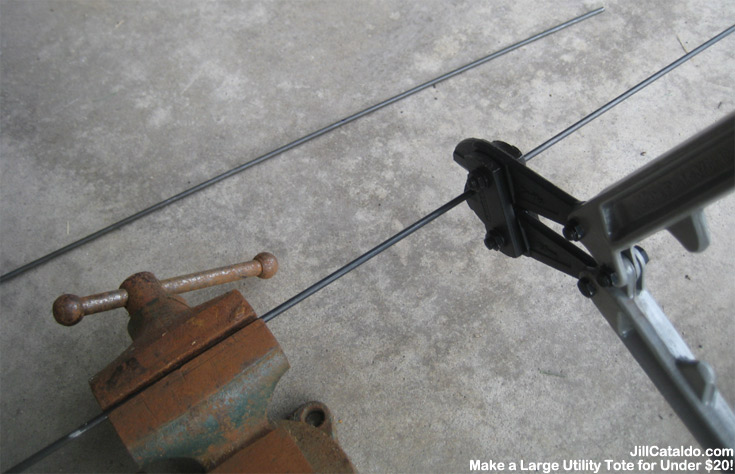
The sign frames I ordered from Victory Store are 33″ long. Most styles of large utility totes are about 22″-24″ long. I trimmed 11.5″ off each leg of each frame with a bolt cutter.
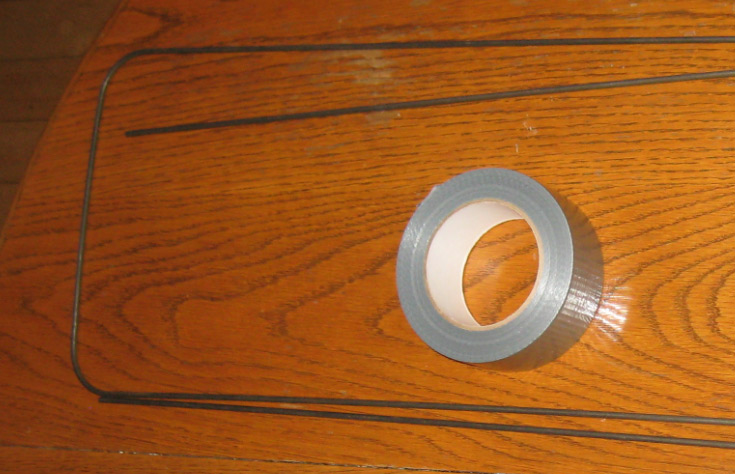
Next, lay the frames together. Wrap each frame end with duct tape and secure it to the opposite frame.
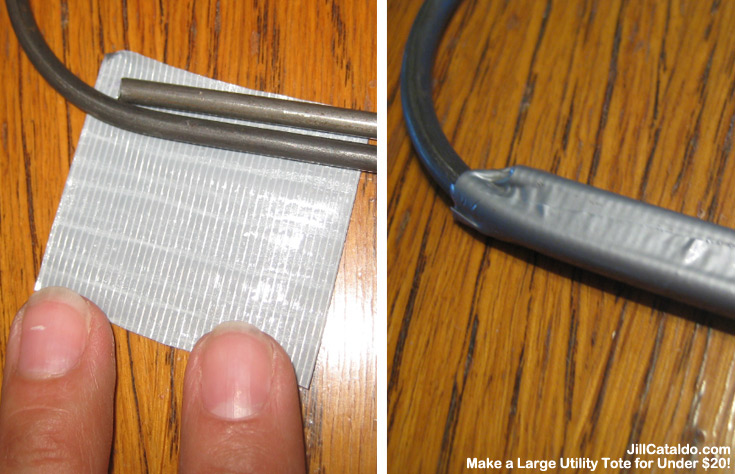
As the cut ends may be sharp, make sure the tape covers the cut ends of the frame so it doesn’t cause your bag’s fabric to wear through in these areas. I also wrapped the center of each frame with an additional piece of duct tape.

My completed frame was 23.5″ long. Step 2: Cut the fabric Lay your fabric out, press it, and trim it to 36″ x 49″. My bolt of fabric was 56″ wide, so I trimmed a total of 7″ off the width.
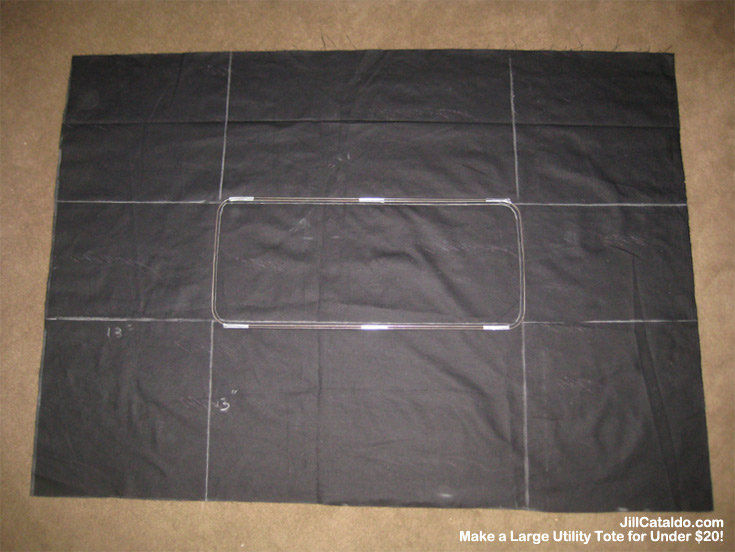
Then, place the wire frame in the center of the fabric. (I like to use chalk to mark my cut lines — you can too.) The frame should sit 13″ in from each edge of the fabric.
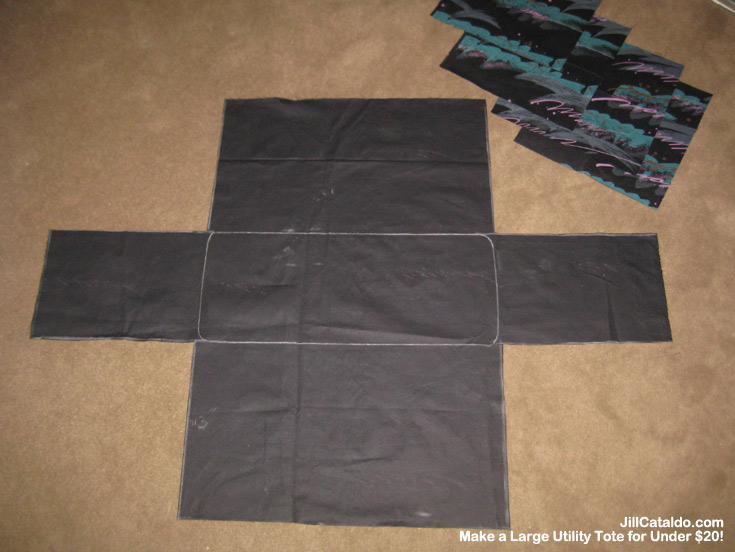
Cut the four corners off the fabric, leaving a cross-shaped piece. This piece will become the body of your tote. Now, you’ll have four scrap pieces of fabric left over. You can either discard these, keep them for another project, or use them to create pockets for your large utility tote. Most of the large utility totes I’ve seen do not have pockets, but my Meijer tote does, and I really like them. I opted to create two end pockets and two inside pockets for my tote. Why might you want pockets on your tote?
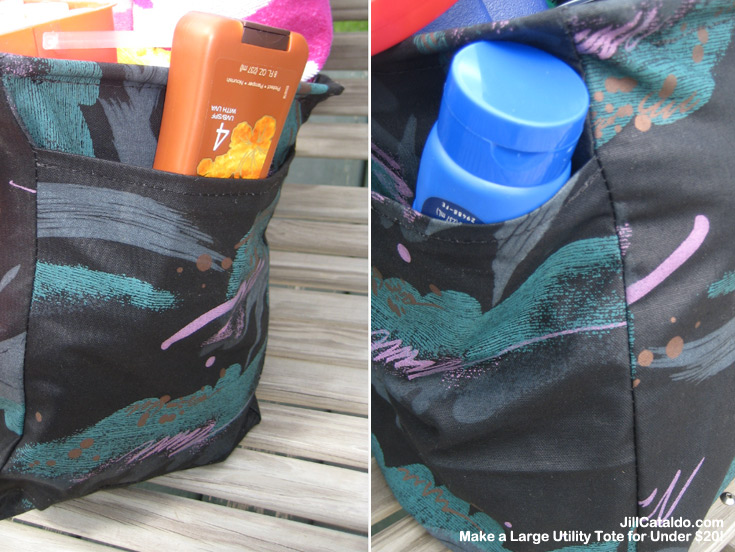
They make great places to stash often-used items, like bottles of sunscreen, swim goggles and more! If you want to simplify things and skip the pockets, jump to Step 4.
Step 3: Creating the pockets For the pockets, I cut the rectangles down to 11″ in height, leaving the width as is. I pressed the top 1/4″, folded and pressed 1/2″ again, then sewed each end seam flat. I left the edges of the end pockets unfinished, as they will be sewn into the body of the bag.
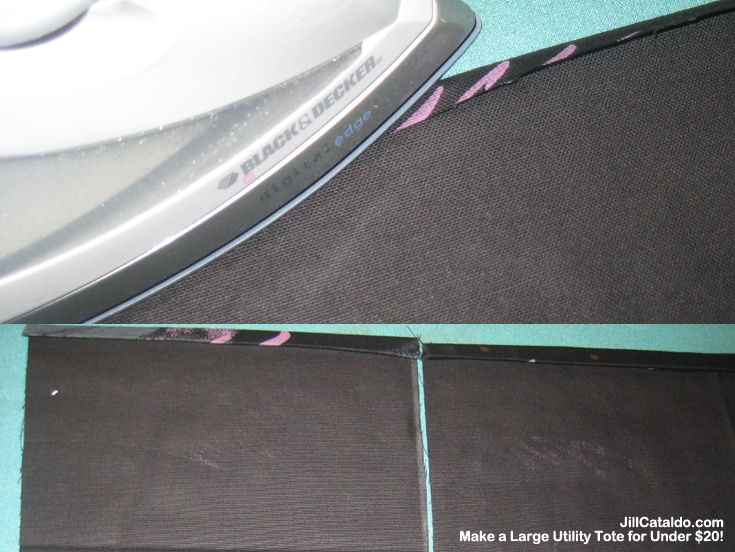
For the two exterior end pockets, I pressed and sewed the upper and lower edges of each piece of fabric to finish the edges. For the interior pockets, I finished all four edges.
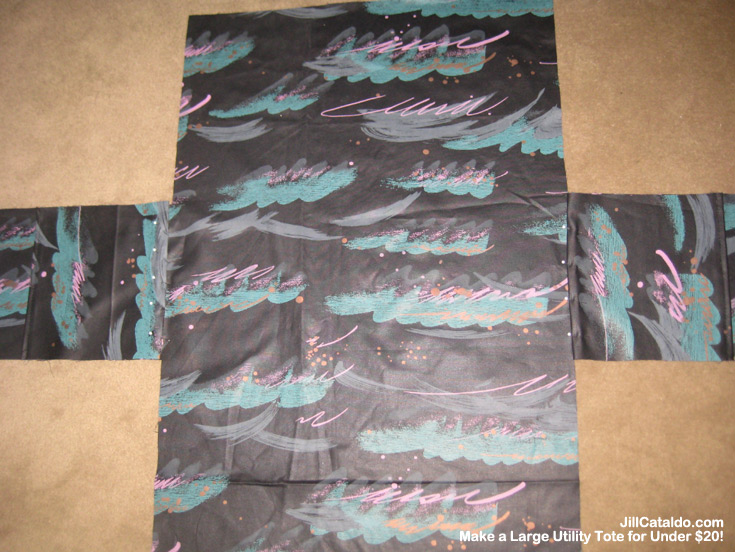
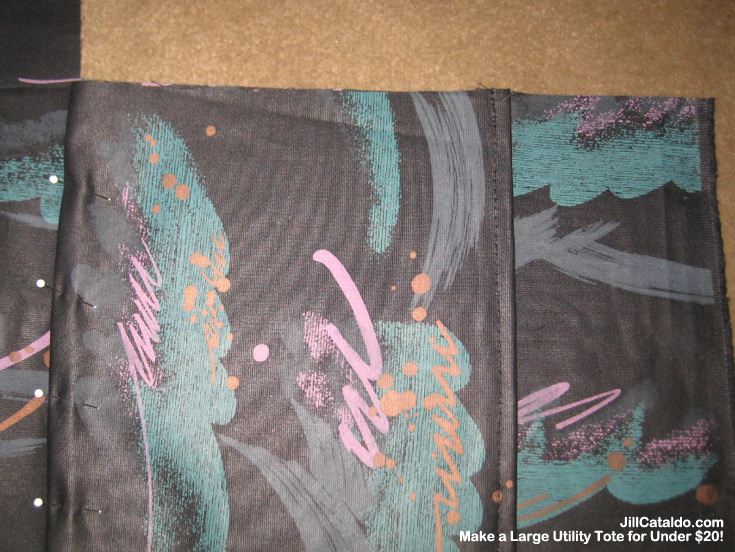
Then, I pinned the pockets over the end portions of the tote bag’s body. The interior pockets are going to sit between the seams for the straps. I turned the bag’s body over and centered each pocket over the horizontal side interior panels of the bag. Then, I pinned them in place.
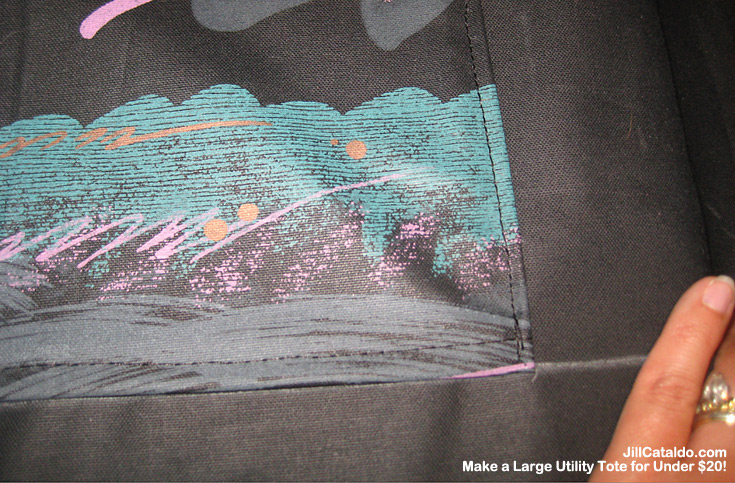
Step 4: Finishing the bag’s edges
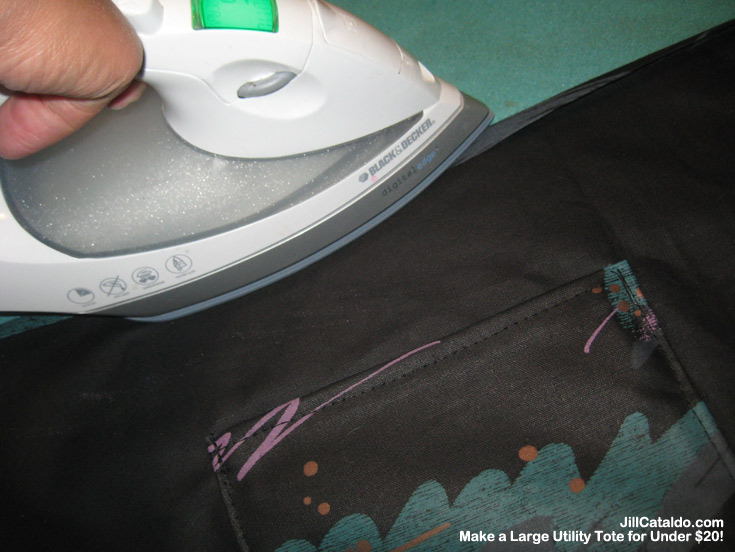
Turn the entire tote bag body piece over and press all edges. I pressed the top 1/4″, folded and pressed 1/2″ again, then sewed each end seam flat. You will be finishing all four top edges of the bag.
Step 5: Attaching the webbing & handles
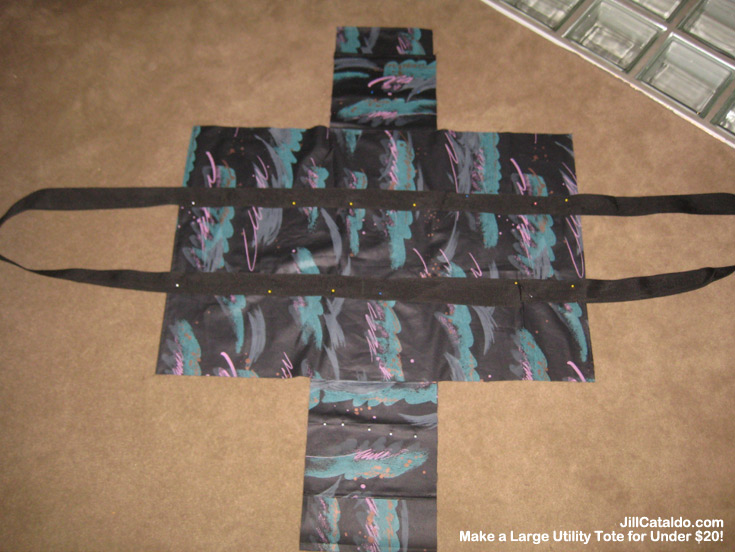
For this step, I’m showing the photo of the webbing pinned to the bag first to help you visualize what we’re going to do. Instead of cutting and sewing separate handles, I opted to keep things easy and make one large oval loop. I pinned it so that the seam where both ends of the webbing attach sits on the bottom of the bag, where it’s less visible.
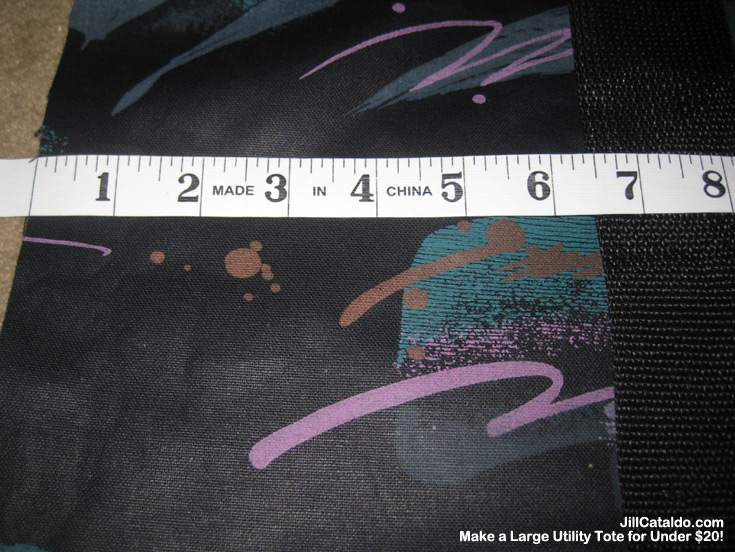
I began by pinning one end of the webbing to the bottom of the bag. Place the webbing so that it sits 6.5″ in from the edge of the bag and pin it in place.
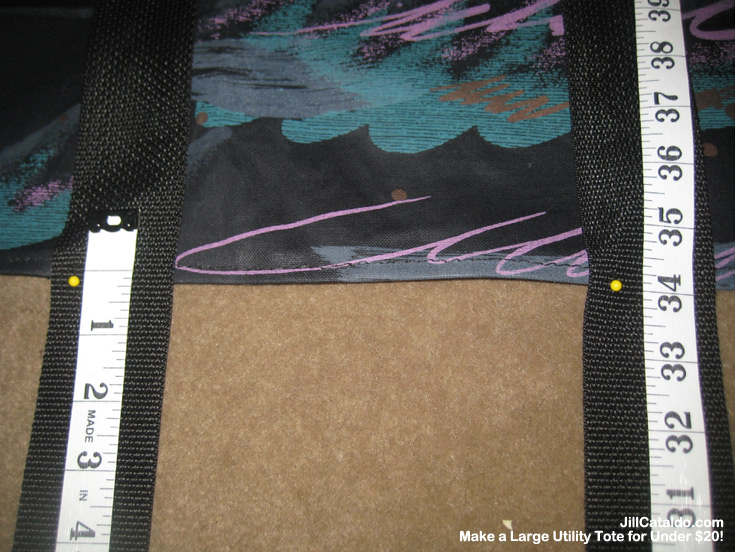
Measure 34″ of webbing for the handle and pin it in place.
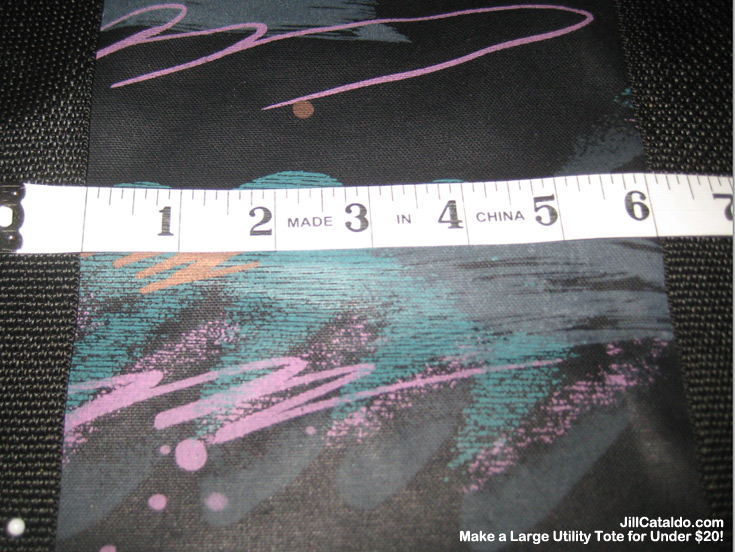
The two handles should be 6″ apart in the center.
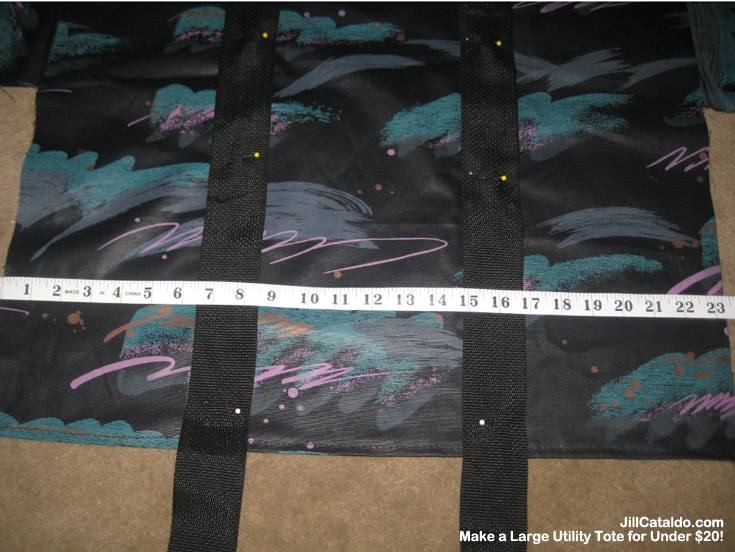
Here’s a view of one side of the bag. Repeat pinning on the other side too.
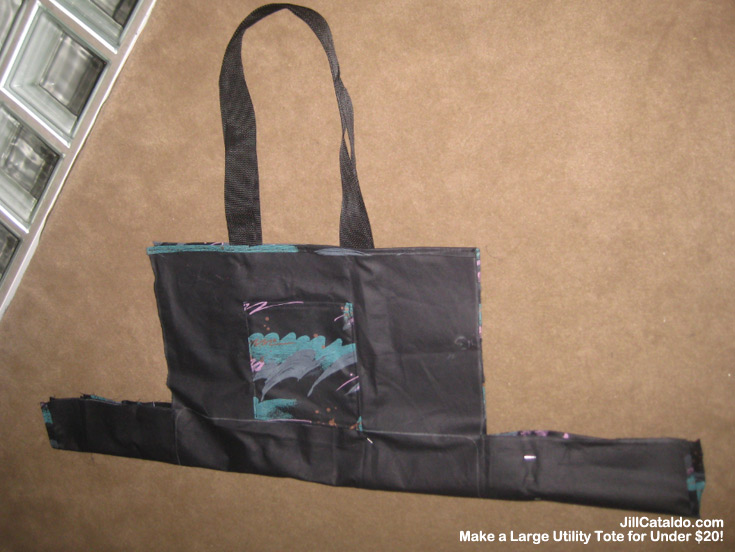
A good way to measure and see if your handles are the same length and in the right place before you sew: Fold the bag in half and nest the handles together. Good to go!
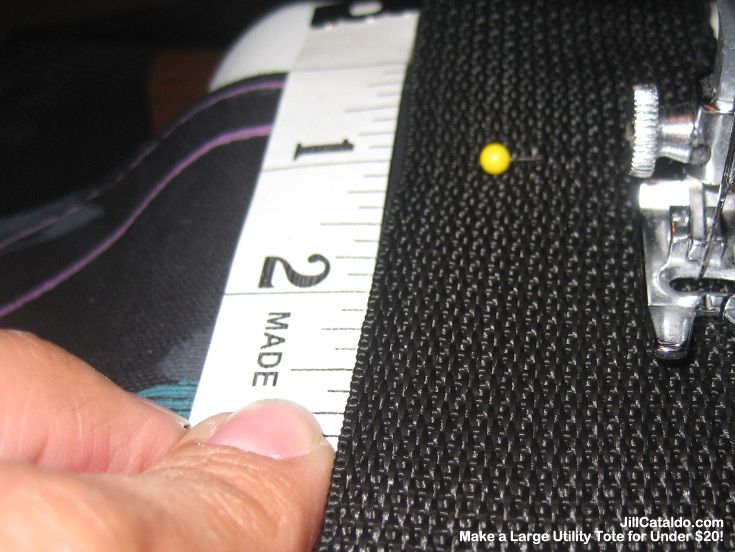
Begin sewing the webbing to the bag. Remember not to start sewing at the top of the bag! We’re going to be folding that edge over the wire frame and sewing it later. I measured 2″ from the top edge of the bag and began sewing. I sewed two stitches, both 1/4″ from the edge of the webbing.
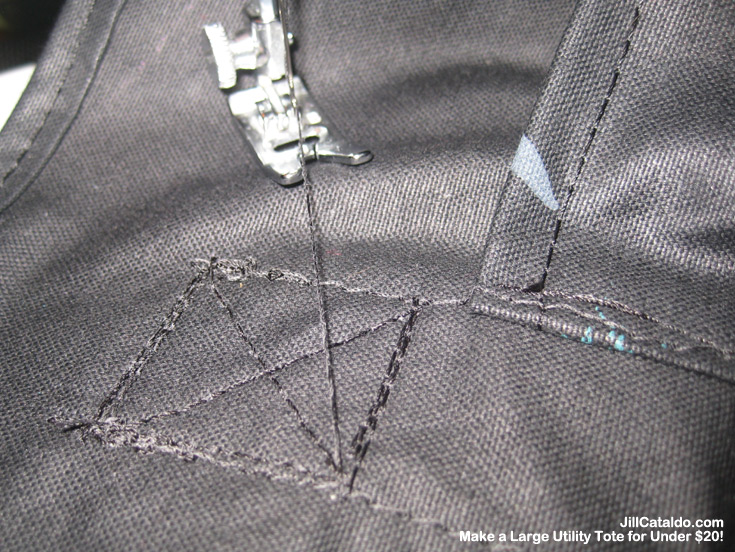
Commercially-available large utility totes have a grommet through the bag at the top of each webbing strap. If you have a grommet punch, you can use one here. I don’t, so I opted to create a boxed X stitch at the top of each strap for extra strength.
Step 6: Sew the tote edge seams
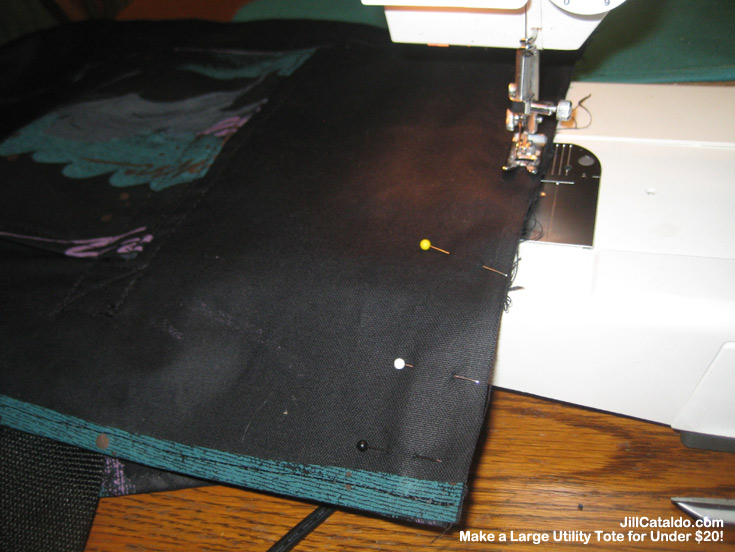
With all of the webbing attached, turn the tote inside out. Pin the four corner seams together and sew.
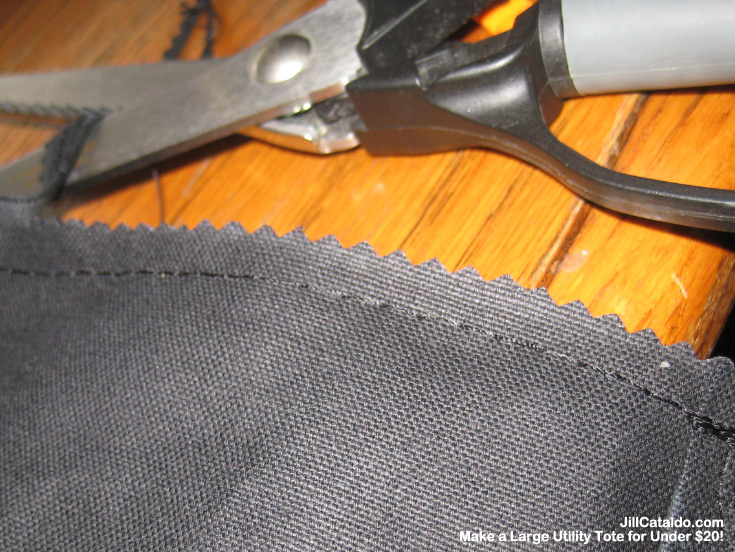
If you have a serger, you can use it to finish your seams and prevent them from fraying. I don’t, so I used a pinking shears to trim the edges of my finished seams. Step 7: Attach the frame
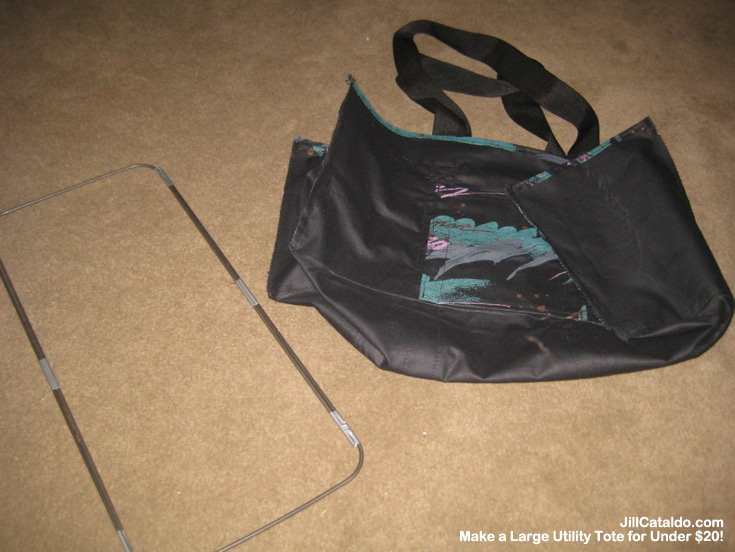
Almost done! Turn the bag right-side out and insert the metal frame under the bag’s edges. Fold 1″ over the edge of the frame.
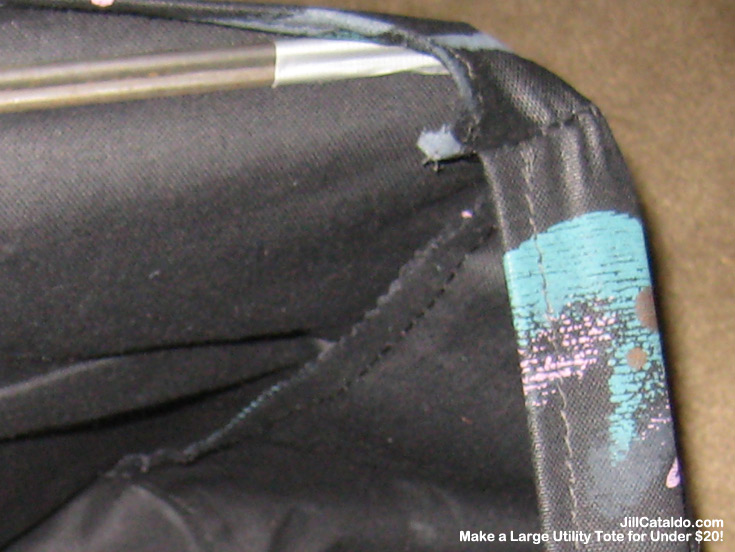
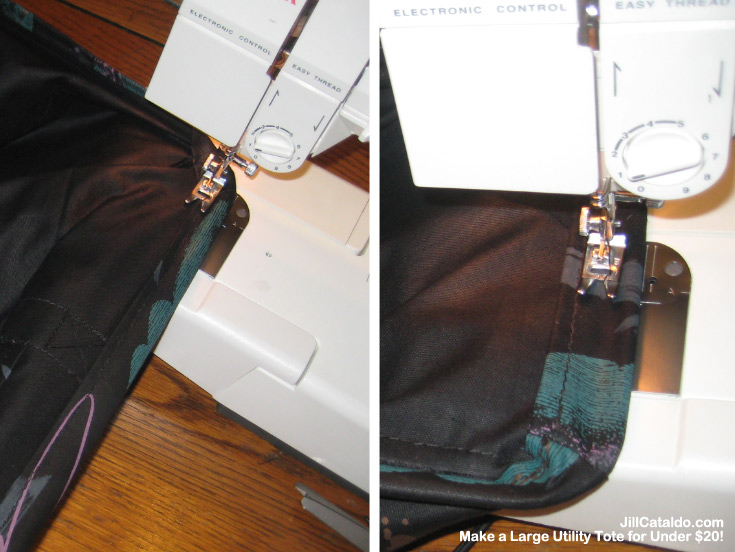
Begin sewing the frame. Be very careful not to catch the frame under your needle, or you’ll likely break more than just the needle! I was not able to sew into the rounded corner of my bag, so I stopped and backstitched about 1″ outside of each rounded corner.
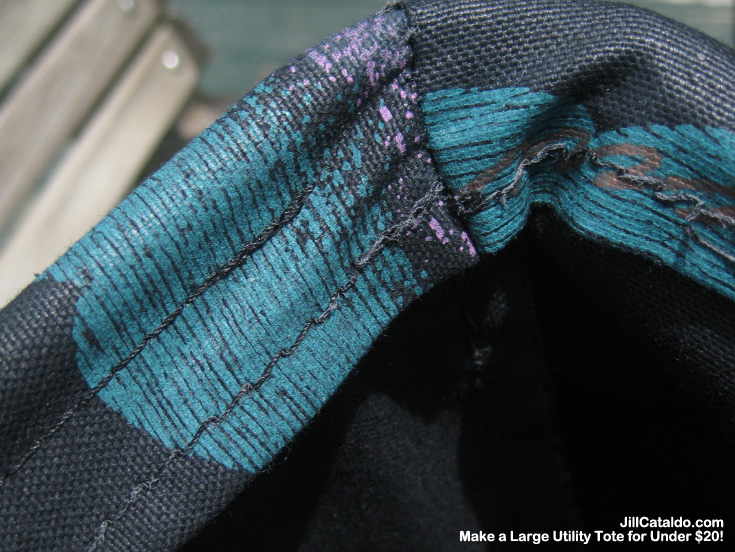
You can see how I did this on the left side of the bag in the above photo — I stopped sewing before the bend in the frame.
The finished product
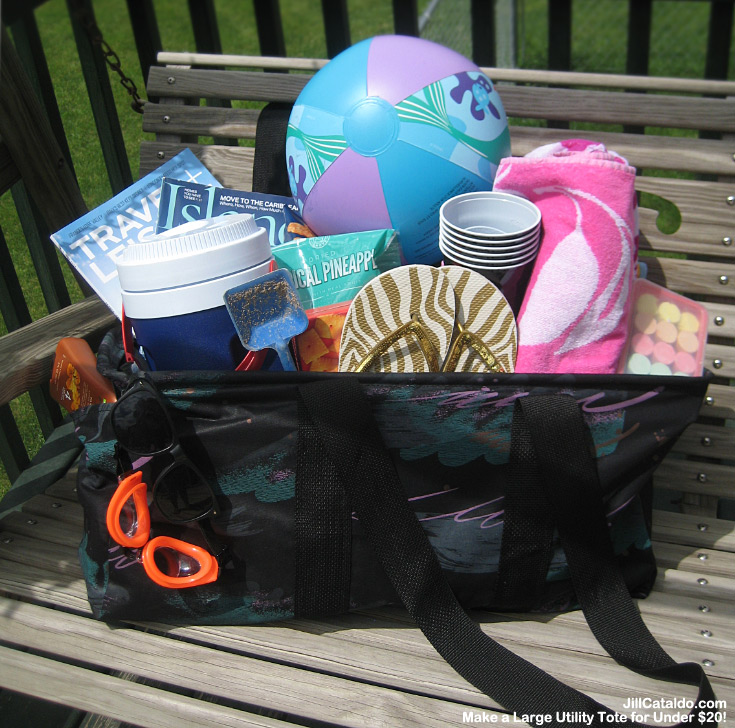

Here it is! These large utility totes truly are large bags and are able to hold so many things. During the summer, ours lives by the front door filled with beach gear, ready to hit the pool or beach at a moment’s notice. I’m excited about having another one to keep with our camping gear — they’re so handy for toting so many things!
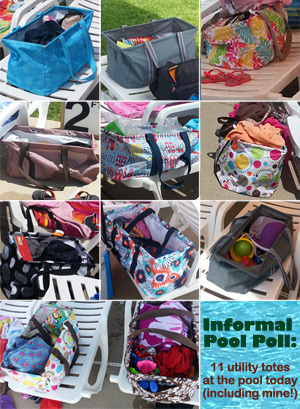 What it would cost you: Two sign frames: .70 each plus $6.52 shipping = $7.92 Fabric: $3.60 Webbing: $7.90 Total cost: $19.42. Note that I did not include the cost of the thread or duct tape, as we had these on hand. As I also used scrap fabric to make this, my cost dropped to $15.82. (Had I used the sign frames I had in the garage, it would have cost a cool $7.90! How’s that for a good reason to consider saying “yes” the next time someone asks to put campaign signs in your yard?) You could save even more if you made your handles out of fabric versus webbing too, but I was aiming to recreate the same style/look of the commercially-available large utility totes. Scour the remnant area of the fabric store too for possible remnants of webbing — they may be available for a better price. Lastly, if you plan to make more than one tote, order all of the sign frames at the same time. At .70 each, the frames are quite inexpensive. This was such a fun project! Now, you too can have a utility tote that’s the envy of the pool. (Seriously, I see more of these totes at our local pool than anywhere else. At right are the results of my cameraphone “Informal Pool Poll” last week — these totes are everywhere!)


Outlander says
Pinned it! Great tutorial! Just need to go have my machine fixed, something is wrong with it and it keeps getting tangled thread stuck in there.
Had to laugh about the fabric. My first thought was “it’s so 80ies!”, even before you said it. :)
Kari O. says
I have been on the fence all summer about getting one of these bags. I really want one and there’s a girl at my church who sells them, I just couldn’t do it! The price just seemed like a lot for a bag in which I couldn’t find a pattern I loved. They have so many girly options but none of them are “me”.
So, I may just try this. I stink at sewing but hopefully my mother in law will help. lol
Coupon Maven says
I’ve gotten a couple emails from readers who were upset that I used a bolt cutter as part of this project — they didn’t own bolt cutters and didn’t want to buy a pair just for this.
Beginning 7/27/14, Menards has a pair of bolt cutters FREE after $19.99 mail-in rebate. There you go. :)
(Once you own a pair, I bet you find lots of other things to use them for too…)