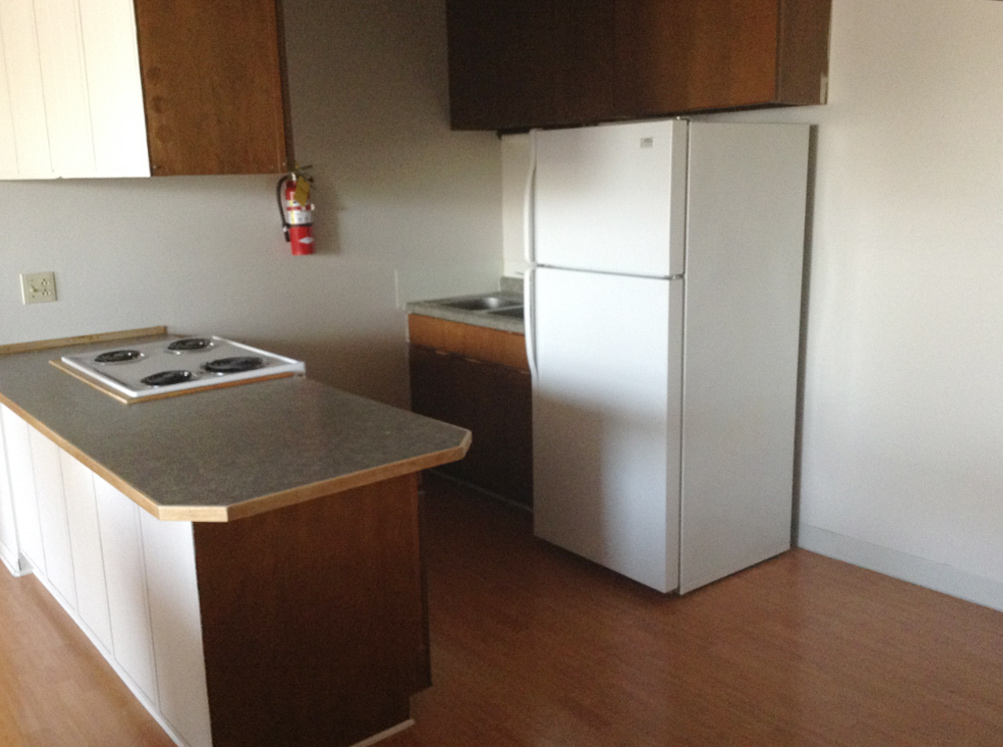
If you’ve been keeping up with our daughter’s preparations to move into an apartment at college, you may remember that the apartment she chose really only had one issue — limited counter space. There’s a little room behind the stove for her coffee maker, but there was no good place to put a microwave in this kitchen.
Everything else about the apartment was great though, and this certainly wasn’t a deal-breaker — I told her that she could always get a cart for her microwave and put it next to the refrigerator.
After we got home from apartment-hunting, I had another thought. Years ago, we put an Ikea kitchen in our house. When you order an Ikea kitchen, everything comes flat-packed and separated. Cabinet frames are in one box, doors in another, drawers in another, and legs, hinges and hardware are in yet another package. A seemingly-random assortment of things arrives at once, and you spend the next few days sorting and assembling everything that was delivered.
When we finished building our cabinet frames, we realized that we somehow ended up with an extra 18″ base cabinet, door hinges and legs that we weren’t charged for. We called Ikea and asked if they wanted us to return the now-assembled frame and other parts, and they said no — we could just discard the extras. Because I find it hard to throw away anything that’s remotely useful, I put the cabinet frame in our basement, where it sat collecting who-knows-what for the next, oh… 12 years.
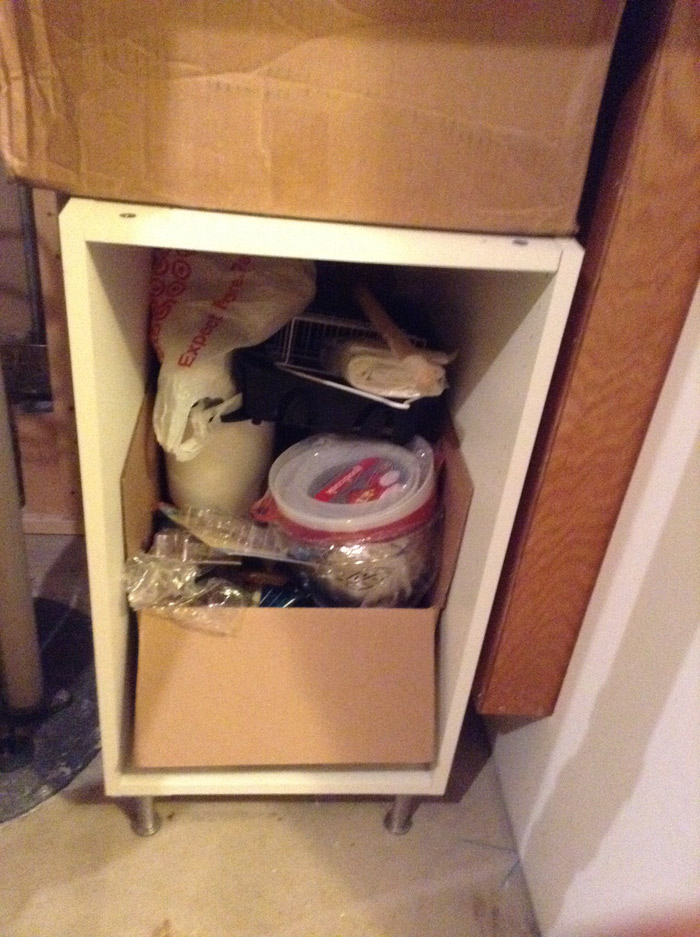
Now I was thinking about this cabinet again. Why buy a microwave cart when we already had this cabinet base sitting around? The base did not have a top though, so I figured I could pick up a countertop remnant inexpensively at a home center and make a single, free-standing cabinet for her microwave.
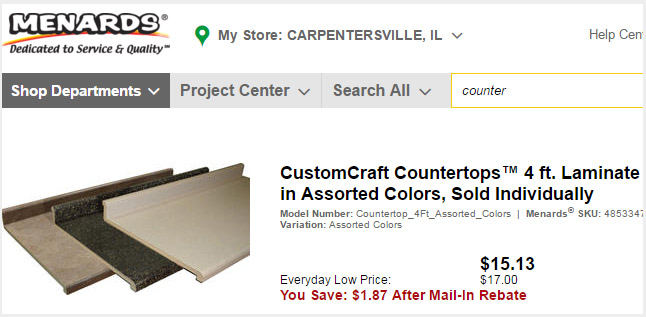
I did a quick search on Menards’ site for countertop pieces, and I found…
Around $15 for a four-foot length of countertop? What a steal! I was hoping to find something affordable that would fit our cabinet base. Menards sells these countertops for a great price, but 4′ was much too long.
Or was it..? Well, one idea often leads to another. Four extra feet of counter space would make an enormous difference in our daughter’s compact kitchen.
And that’s how one old cabinet and one bargain countertop turned into this:
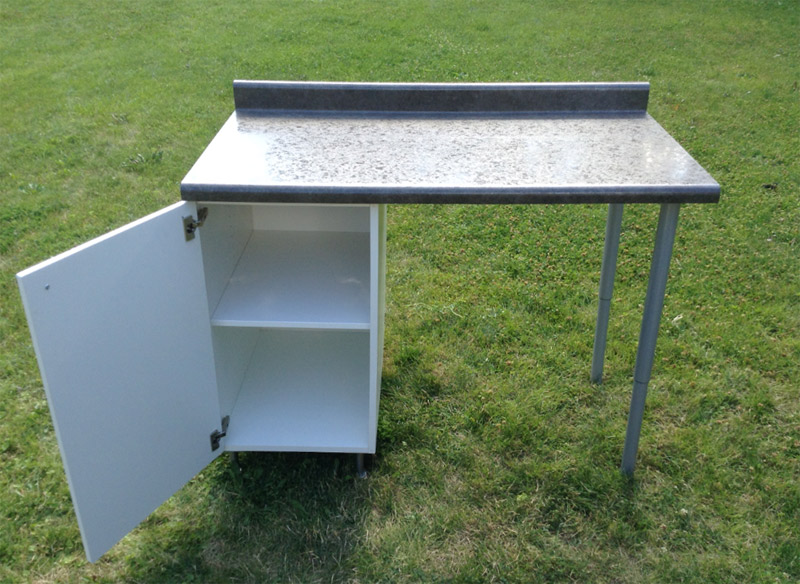
I built this freestanding countertop extension unit, which will add four feet of counter space to her kitchen, give her room for her microwave, and expand her storage a bit too.
Here’s how I did it.
After deciding I would get the countertop at Menards, I started thinking about how to support the other end of the unit. I could have kept it simple and built workbench-style legs with 2×4’s, but I was also thinking about having to move this into her apartment at some point. I thought it would be easier to have detachable legs that could be removed so that the cabinet base, countertop, and legs could all be moved separately, then assembled.
Next, I started searching for counter-height legs to support the opposite end of the countertop extension, and I quickly learned that they aren’t the easiest things to find. Most home centers don’t carry them. Table-height legs, on the other hand, are available many places and aren’t terribly expensive. I could have dropped the cabinet’s height by taking the legs off, but I also wanted this cabinet extension to be the same height as her existing kitchen countertops.
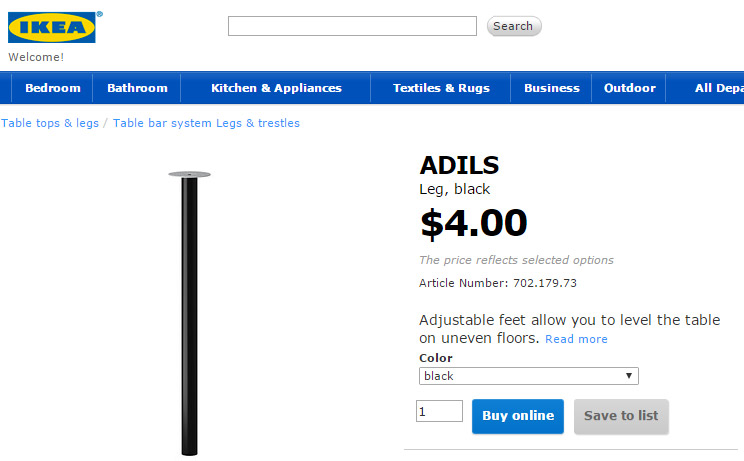
Ikea’s site showed several styles of legs:
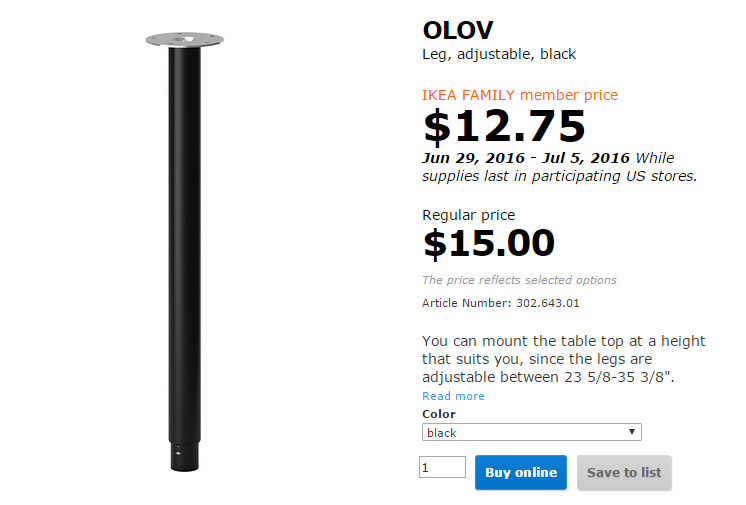
I decided to go with the Olov legs from Ikea. They cost more than the table-height legs, but I wasn’t having much luck finding other counter-height legs. I went to Ikea to pick them up.
My original plan was simply to attach the legs to the countertop and attach the countertop to the cabinet base. We had no door for this cabinet, nor did we have a shelf for it. I had planned to simply leave the cabinet open and cut a piece of plywood for a shelf to give her some open storage in the cabinet. However, I’m a sucker for the scratch-and-dent and supplies area at Ikea — I can’t leave without checking it out:
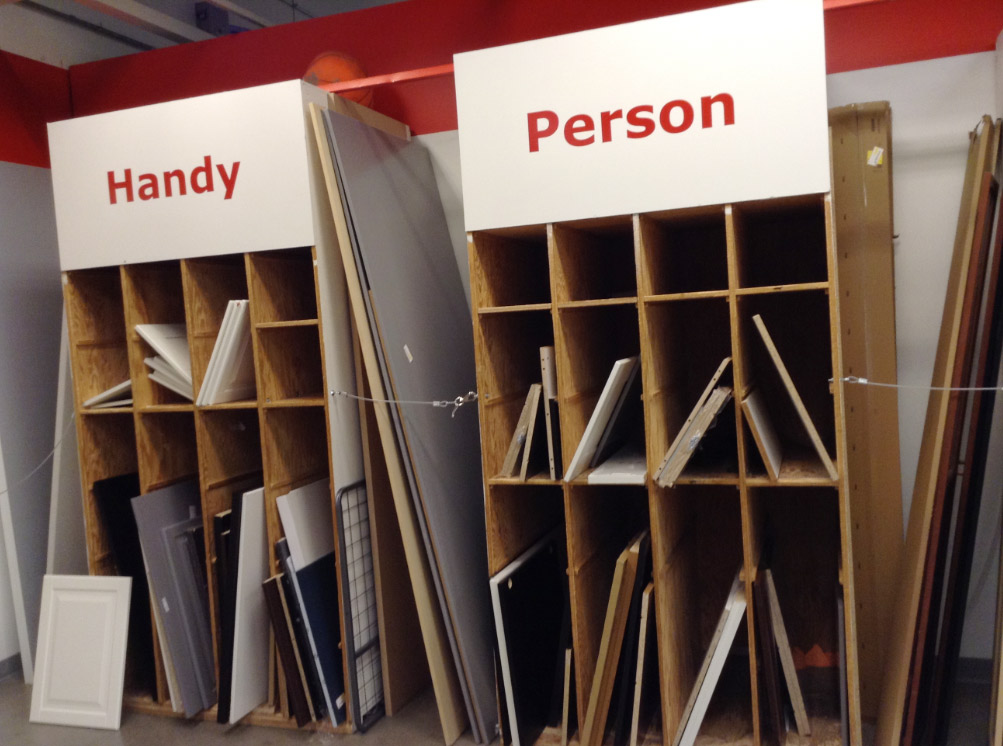
Do you see what I see? I hadn’t planned to add a door to this project. but there were so many random cabinet doors in this area of the store that I thought I’d browse and see how much they were.
Look what’s sitting in the lower left corner of this photo. An 18″ cabinet door. A white 18″ cabinet door. I picked it up, flipped it over, and…
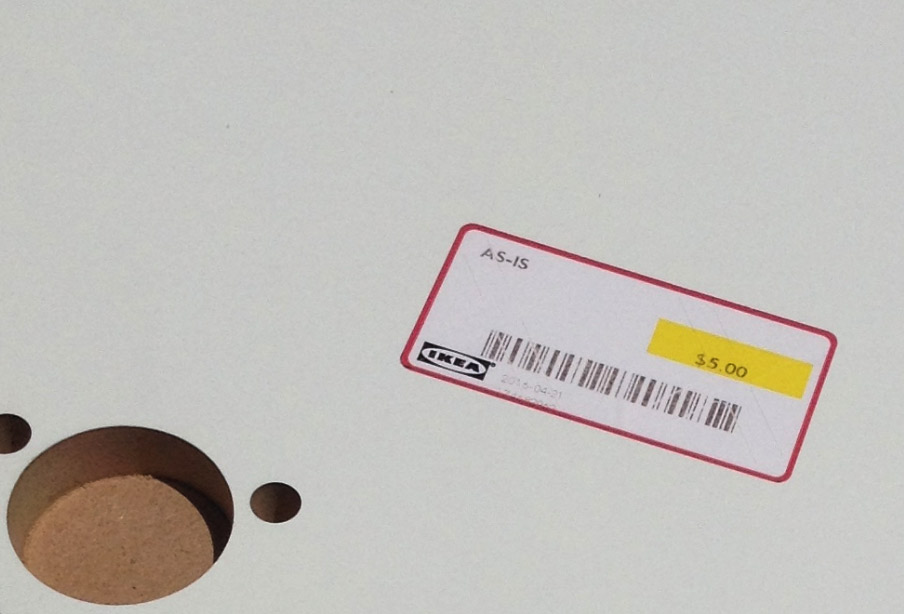
For $5.00, why not add a door? Having installed Ikea cabinets in the past, I knew what these doors cost when they’re new in the box and not in the “Handy Person” section of Ikea. This same 18″ Ikea cabinet door retails for $60.00!
I was already thinking about how nice everything would look together. I continued browsing through the assortment of cabinet parts, and then I found:
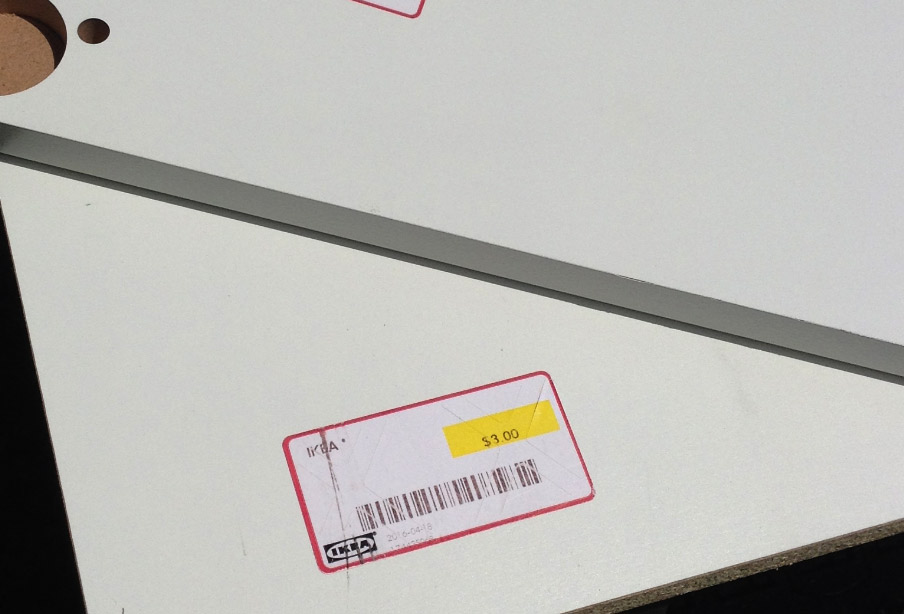
A white cabinet shelf… for an 18″ wide cabinet. What were the chances?! I’m not sure what individual cabinet shelves cost as they’re usually part of an entire cabinet’s price, but $3.00 sounded pretty good to me.
I took everything home and set up shop in the backyard to put it all together. My goal was to construct it in a way that the cabinet, countertop and legs would come apart again easily to pack and move to our daughter’s apartment in a few weeks.
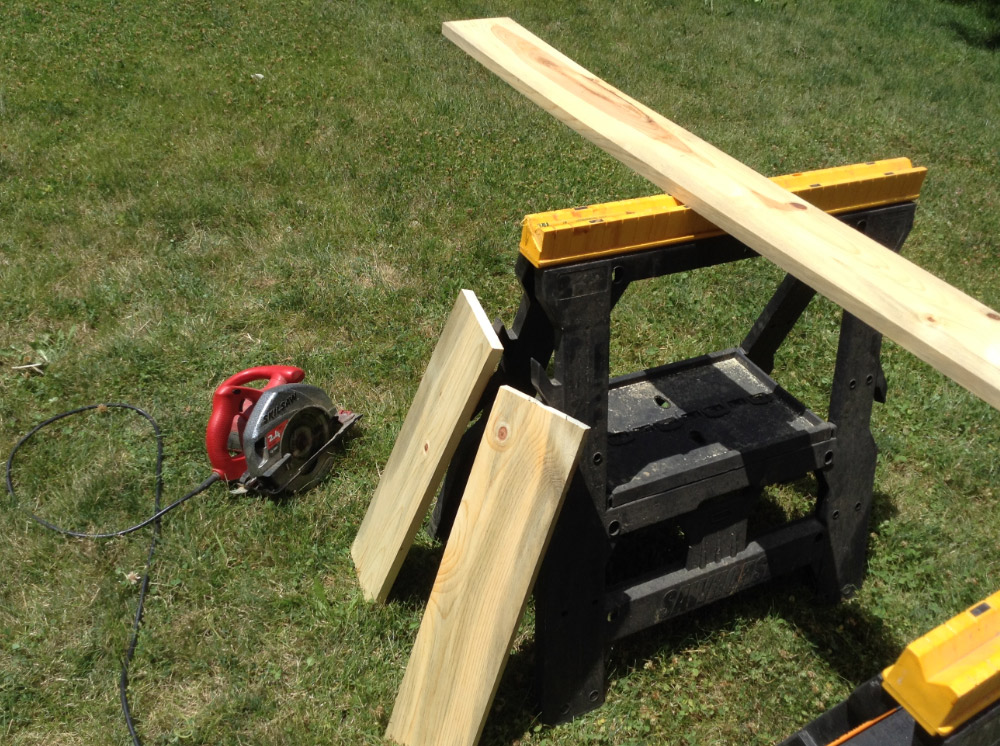
First, I cut supports for the countertop from a 1×6″ I had in the garage.
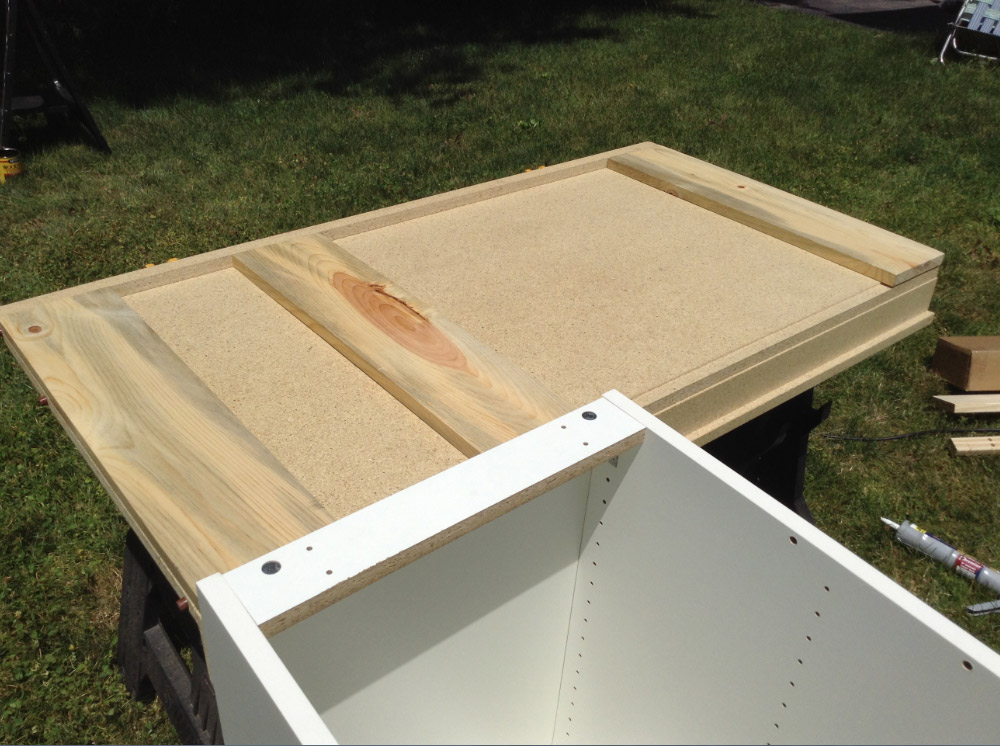
Next, I spaced out the pieces of pine according to where the cabinet and legs would attach to the countertop. Because Ikea’s cabinets are frameless, the cabinet door would have hit the countertop’s overhanging lip in the front if I didn’t raise the countertop height up enough for the door to clear. These boards also give additional support to the hardware being screwed into them versus going directly into the particle board backer of the laminate countertop.
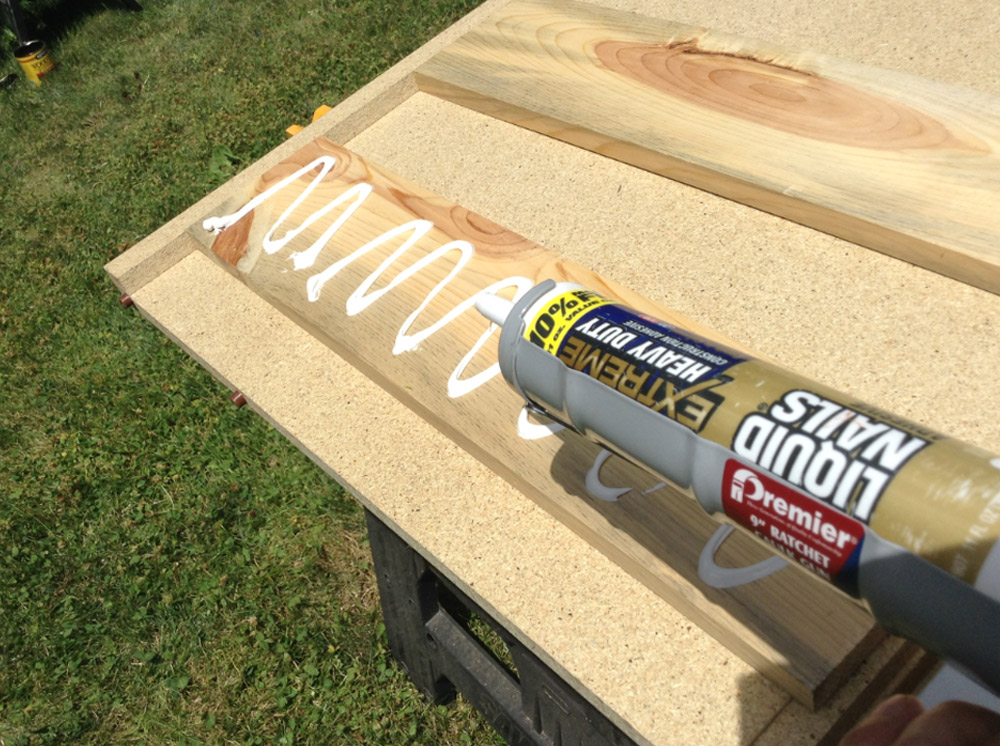
I applied Liquid Nails to the back of each board, then used wood clamps to secure them into place.

I left the clamps on for about an hour until the Liquid Nails set. (My daughter’s in the background staining pieces of her new Ikea bed frame. This beautiful weekend weather has been perfect for both our moving-related projects!)
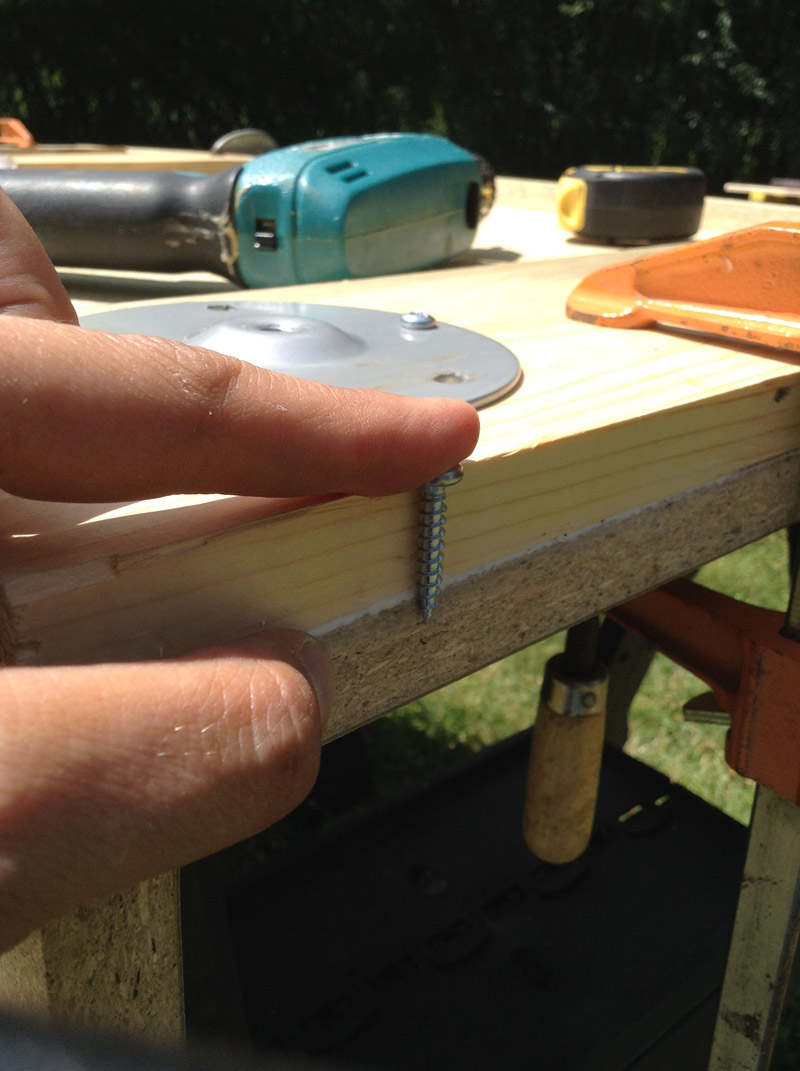
Here’s another photo to illustrate why the extra support for the countertop was necessary. I’m attaching the brackets for the countertop legs. This is one of the screws that comes with the leg and bracket set. Without the extra support board, this screw tip would hit the back of the laminate.
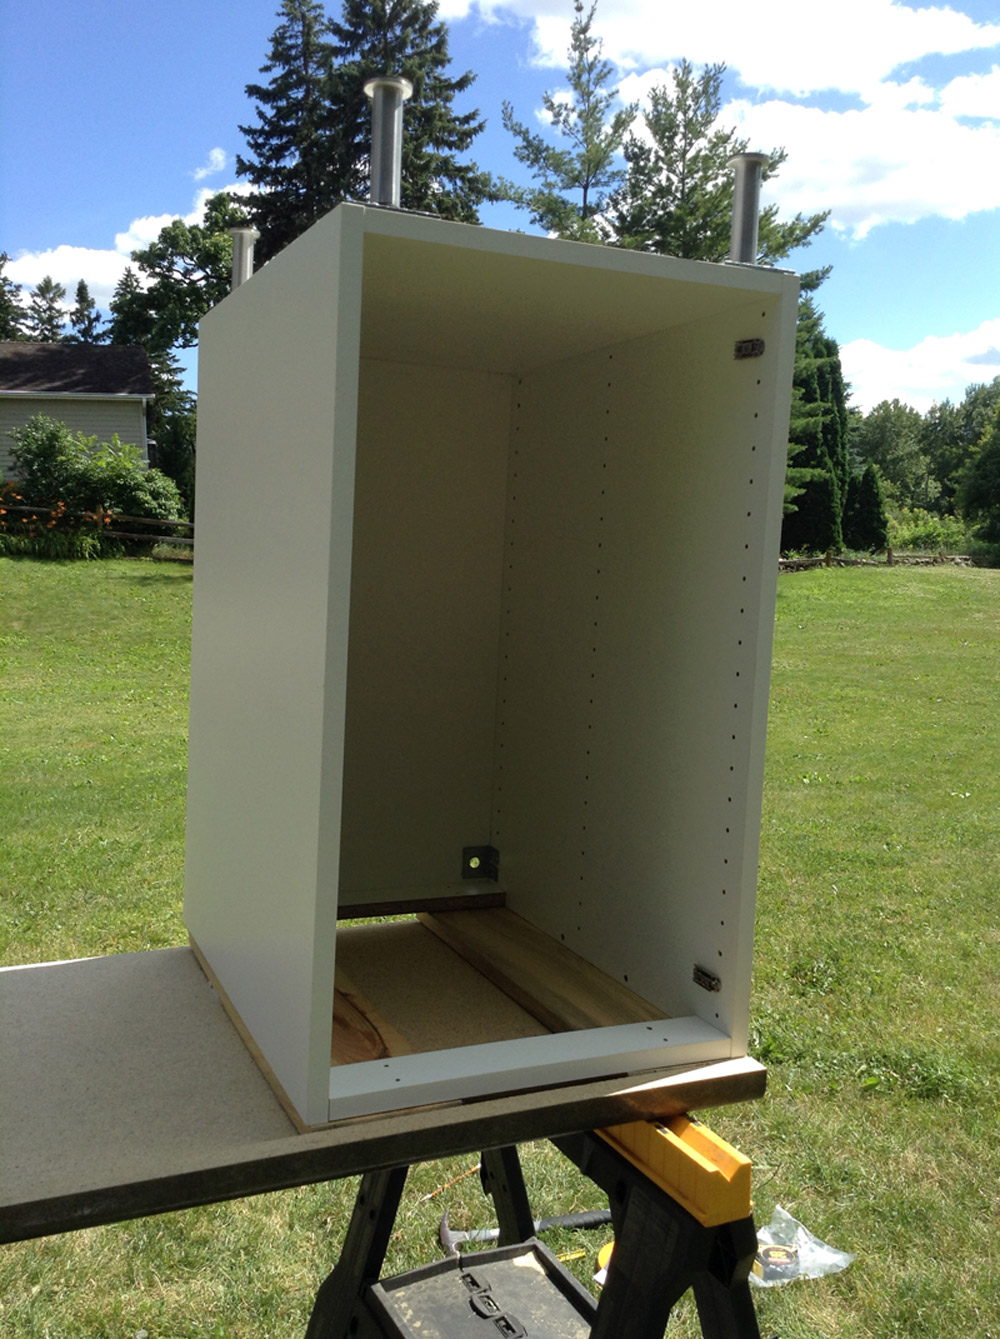
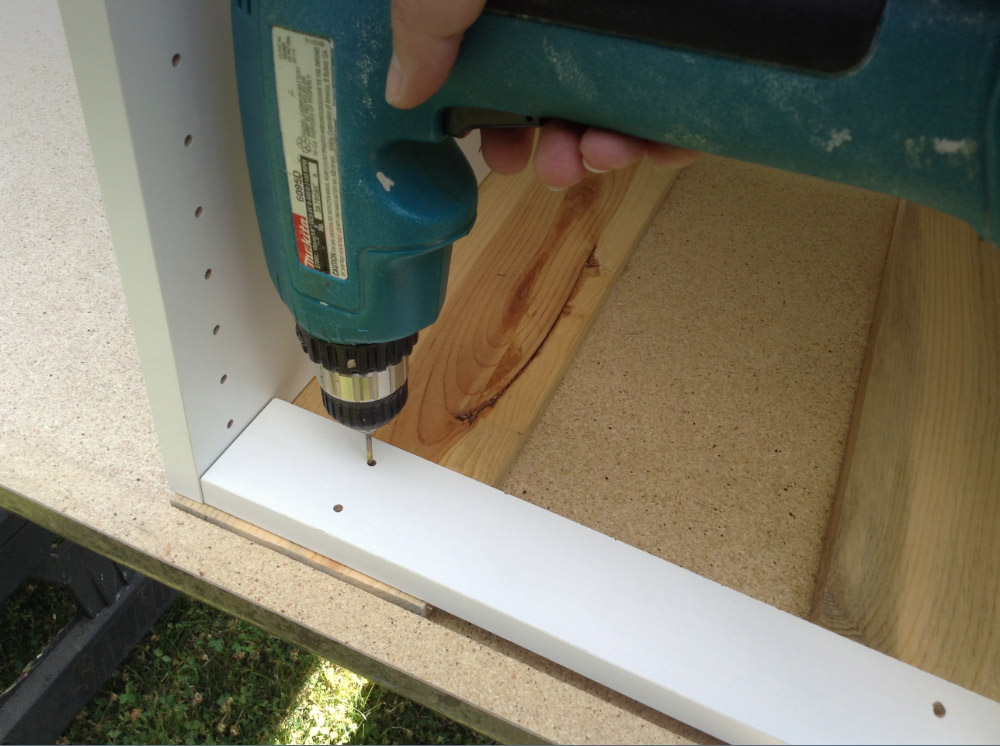
Next, I inverted the cabinet base and set it on top of the inverted countertop. I drilled pilot holes so it will be easy to screw the cabinet base to the countertop once we move it to our daughter’s apartment. This will help keep everything lined up correctly for assembly too.
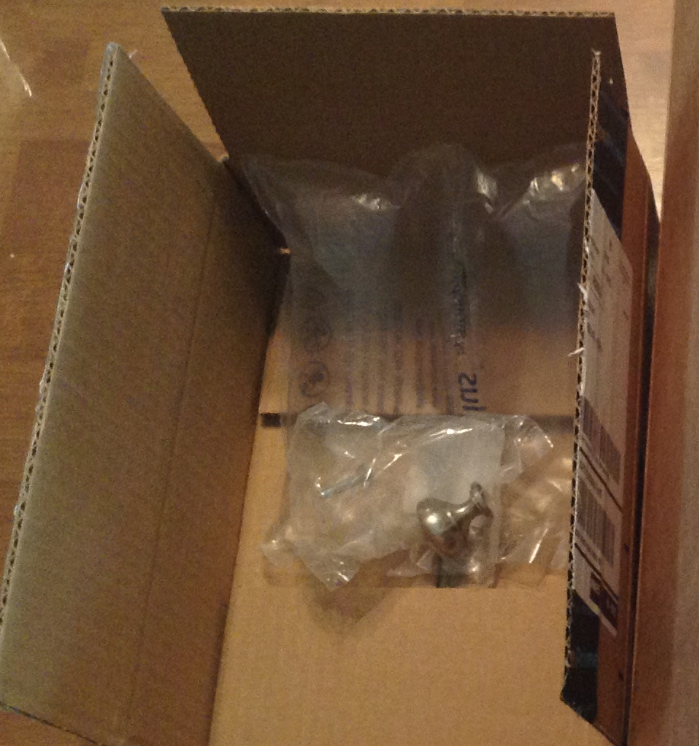
I also drilled a hole in the cabinet door and attached a knob to it.
(Yes, it’s the knob I recently ordered as an Amazon filler, only to have it arrive in its own box.)
It was time to put the legs on and see how everything looked together. Installing these Ikea legs is easy, but adjusting the height of the legs may not be. I’m sharing this because these adjustable Ikea legs sometimes do not lock in place the first time you twist and lock them. I was aware of this issue before buying them (hey, I research everything!) and I found this post about how to lock Ikea adjustable legs extremely helpful.
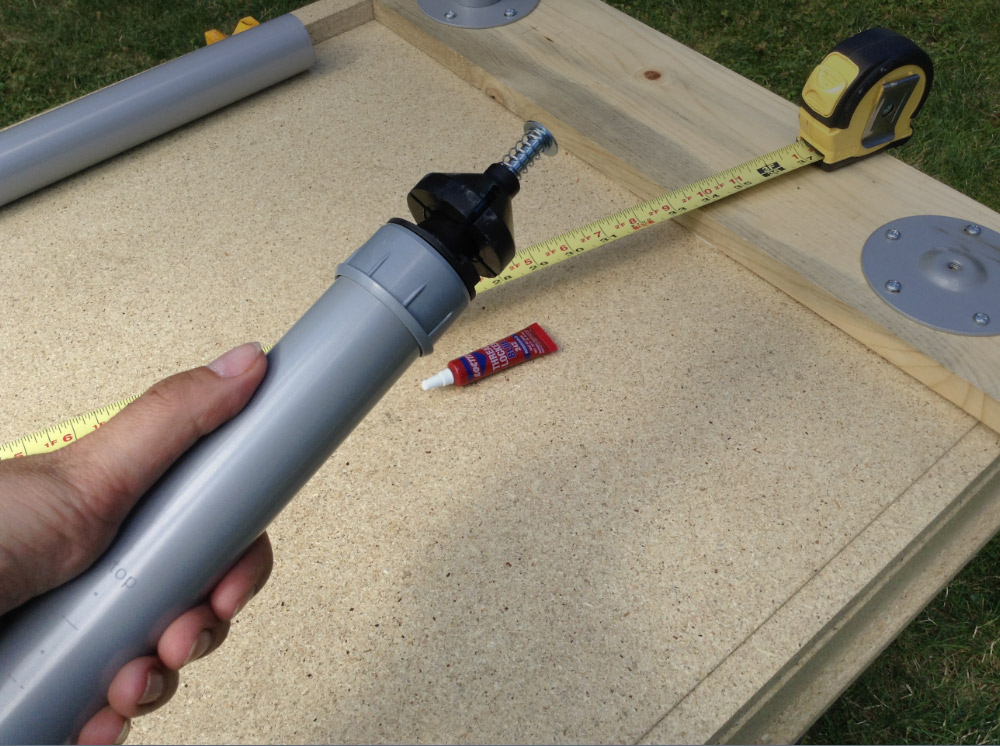
For anyone who might purchase these Olov legs: If the legs do not twist and lock the first time you try, pull the two pieces of the leg apart. You’ll see a black expandable gripper on a screw. Twist the gripper down the leg so that it travels a few threads closer to the top of this piece of the leg. Then, put the leg back together and it will lock in place when twisted. (I am planning to use Loctite threadlocker on the threads of this piece when I put it together for good at our daughter’s apartment to give the leg adjuster mechanism even more support.)
One of the only (small!) drawbacks to buying a countertop remnant like this one is that the ends are unfinished. One of the ends won’t be seen as it will be next to the refrigerator, but the other end will be exposed. I decided to paint and polyurethane both ends to seal them and blend the color with the countertop a little more.
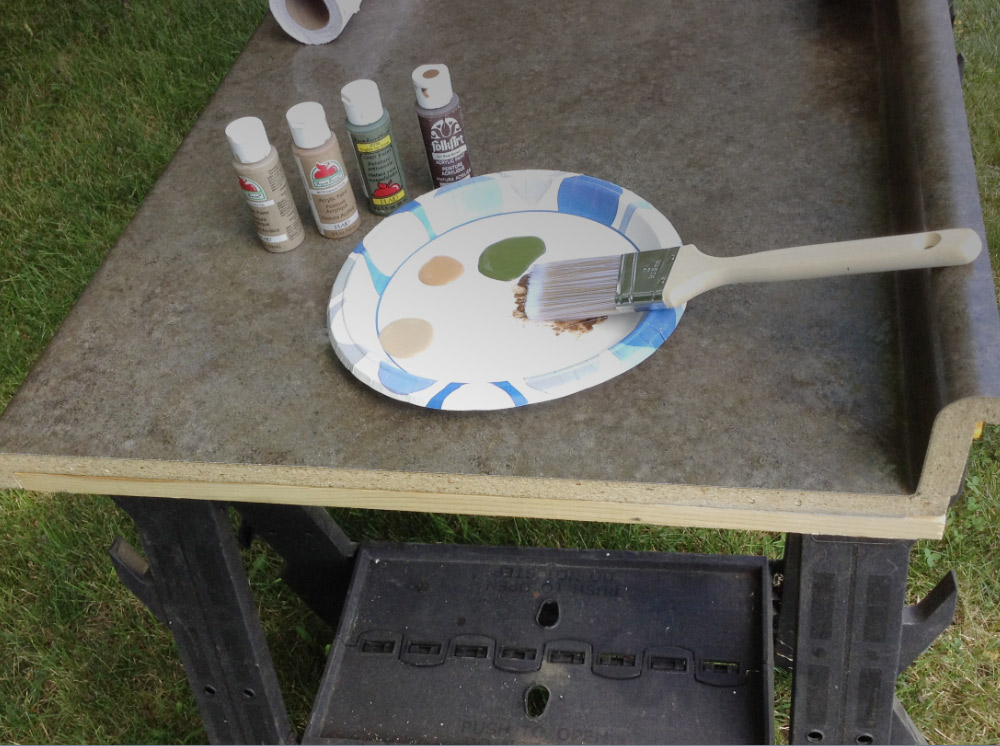
I used some acrylic craft paints we already had on hand, and I had fun channeling my inner Bob Ross by blending the paints together and stippling the raw edge of the countertop and supporting boards.
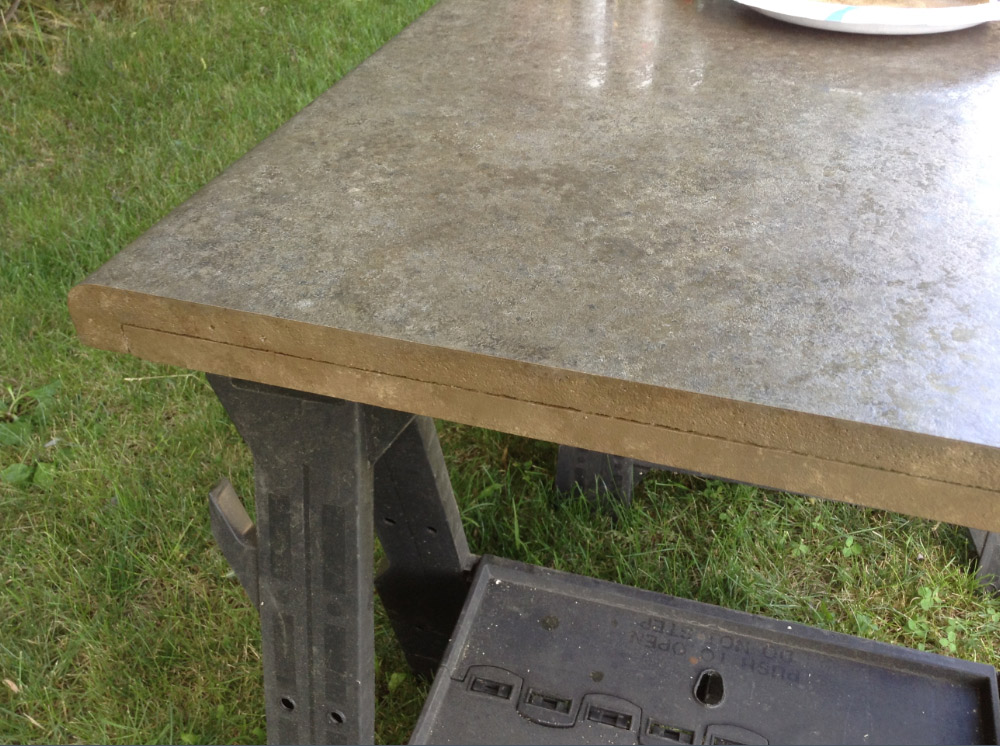
After the paint dried, I coated it with polyurethane to seal each end.
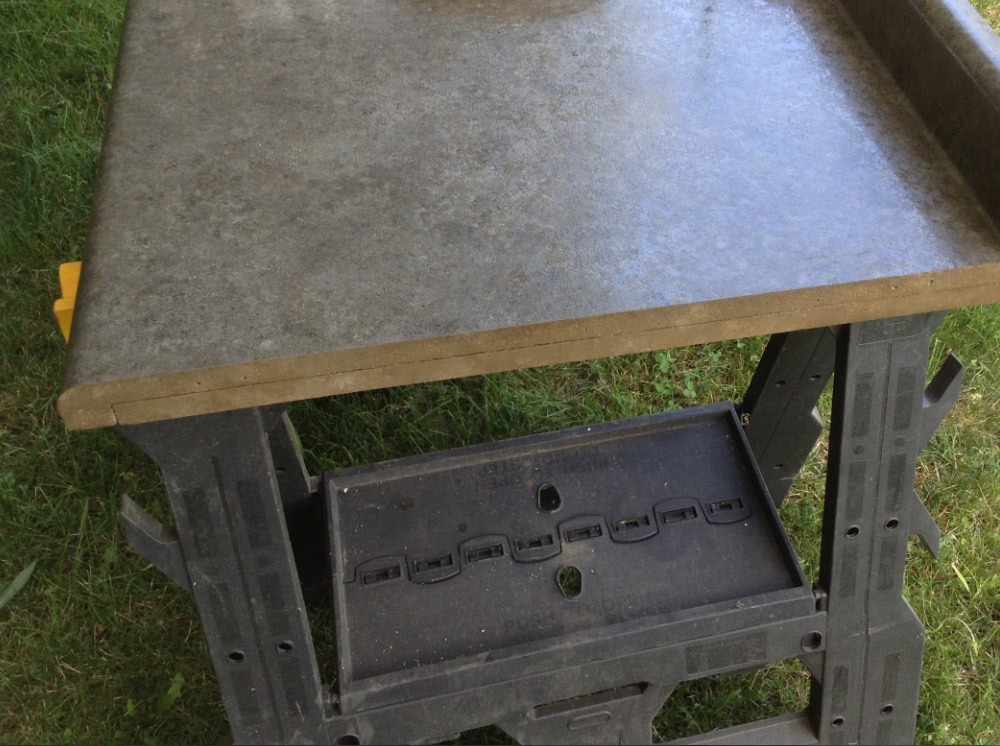
It turned out pretty well, don’t you think? I had one more idea for this end of the countertop too — something you likely wouldn’t do to a finished countertop edge. While at Menards, I spotted a thin towel bar ($2.79) that I thought would be perfect for the end of the counter to create a place to hang dish towels:
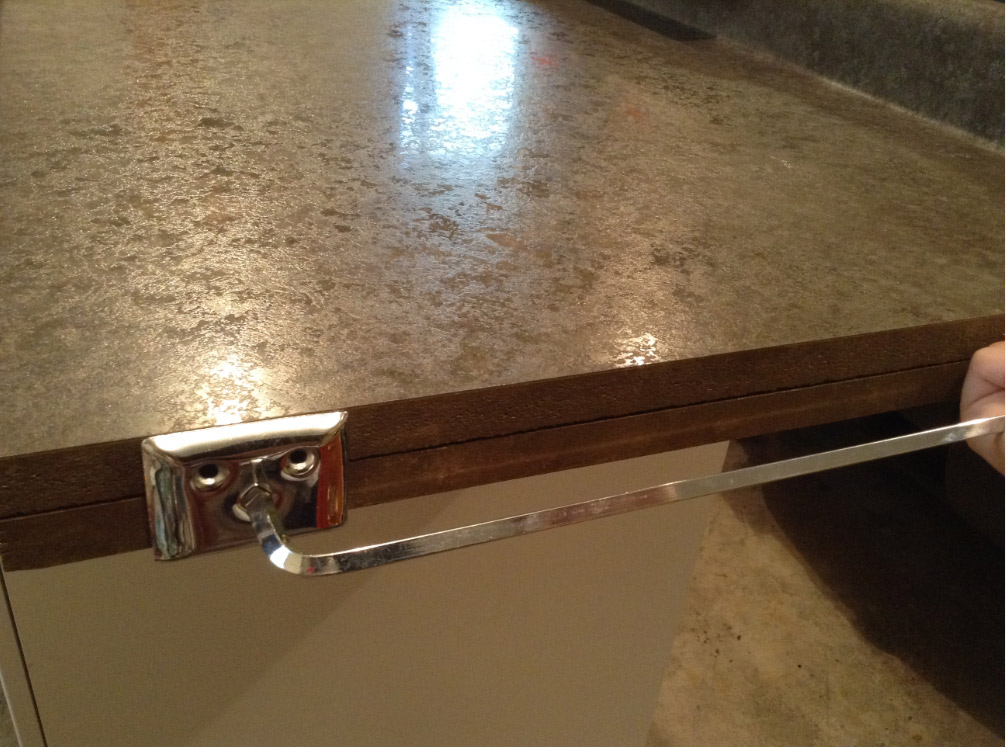
I drilled pilot holes for the bar, but I wanted to wait to mount the towel bar on this end of the counter until everything’s in place in her apartment, as I don’t want it to get bent during the move.
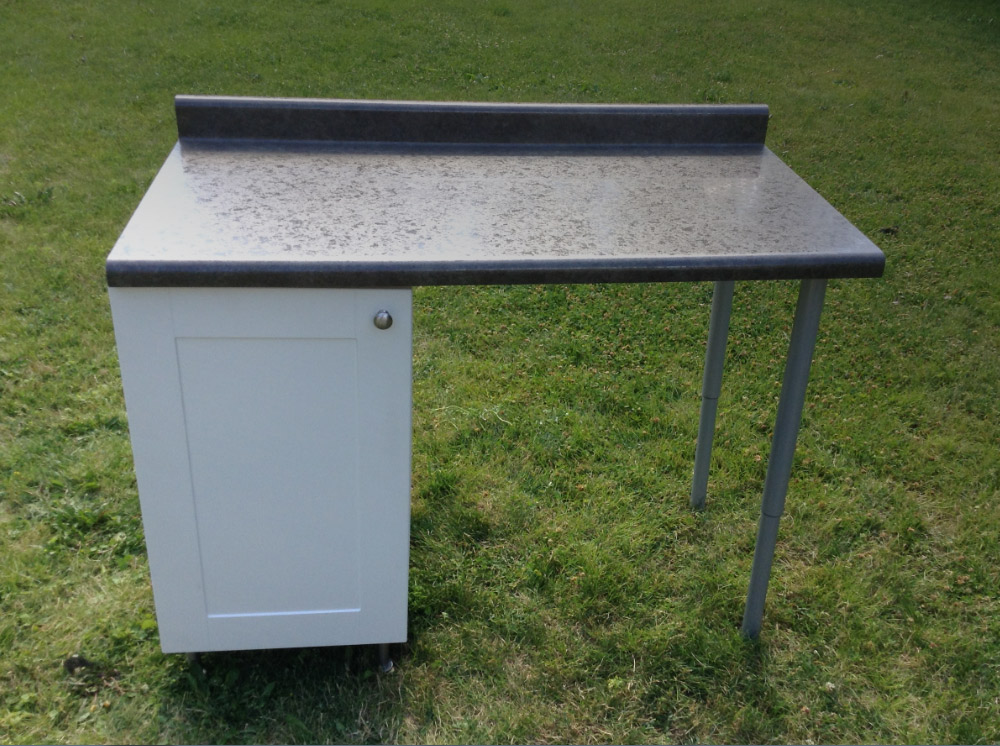
Check it out! I think it really turned out well, and our daughter is beyond thrilled with it. It’s very stable and doesn’t need to be bolted to the wall, and it will be a great addition to her apartment.
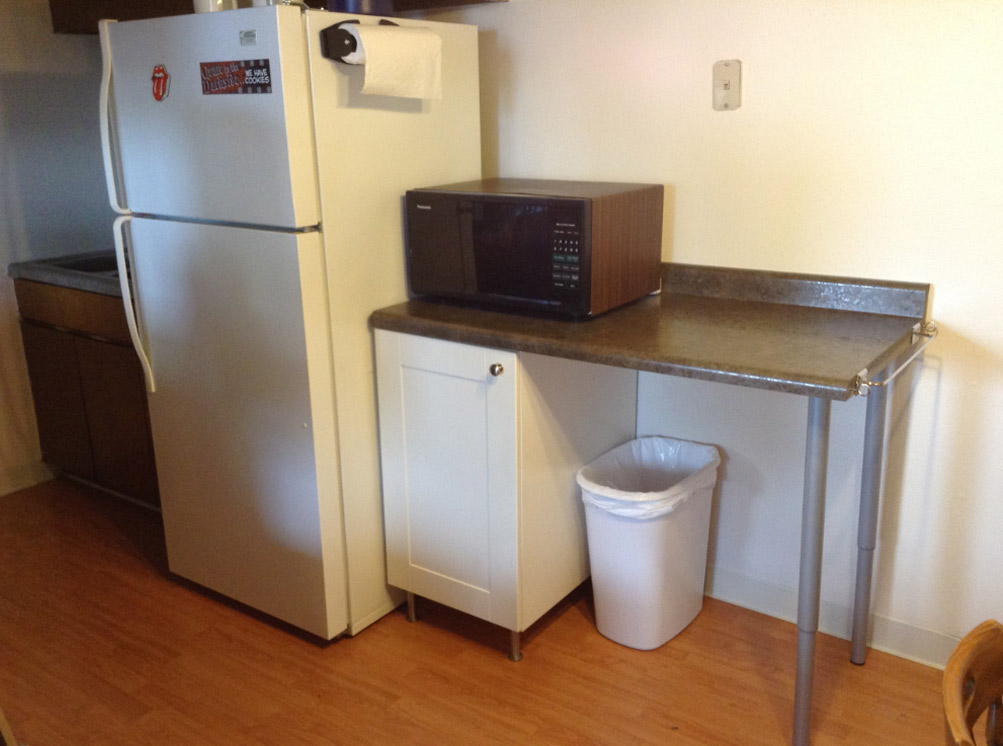
Update: Here’s the finished product in her apartment! It fits perfectly next to the refrigerator, and she loves the additional counter space and storage inside the cabinet base too. I was also glad that I went with the adjustable legs, as her apartment’s floors aren’t perfectly level, and I was able to make minor adjustments once everything was in place.
One final note for anyone who likes the idea of building a countertop extension but doesn’t just happen to have an extra kitchen cabinet lying around: Pick up a similar cabinet inexpensively to get your project started. On the same day I was parts-hunting at Ikea, I spotted several assembled base cabinets also in the Handy Person area for $13.90 each. If you live near an Ikea, it’s worth browsing around and seeing what you can find.
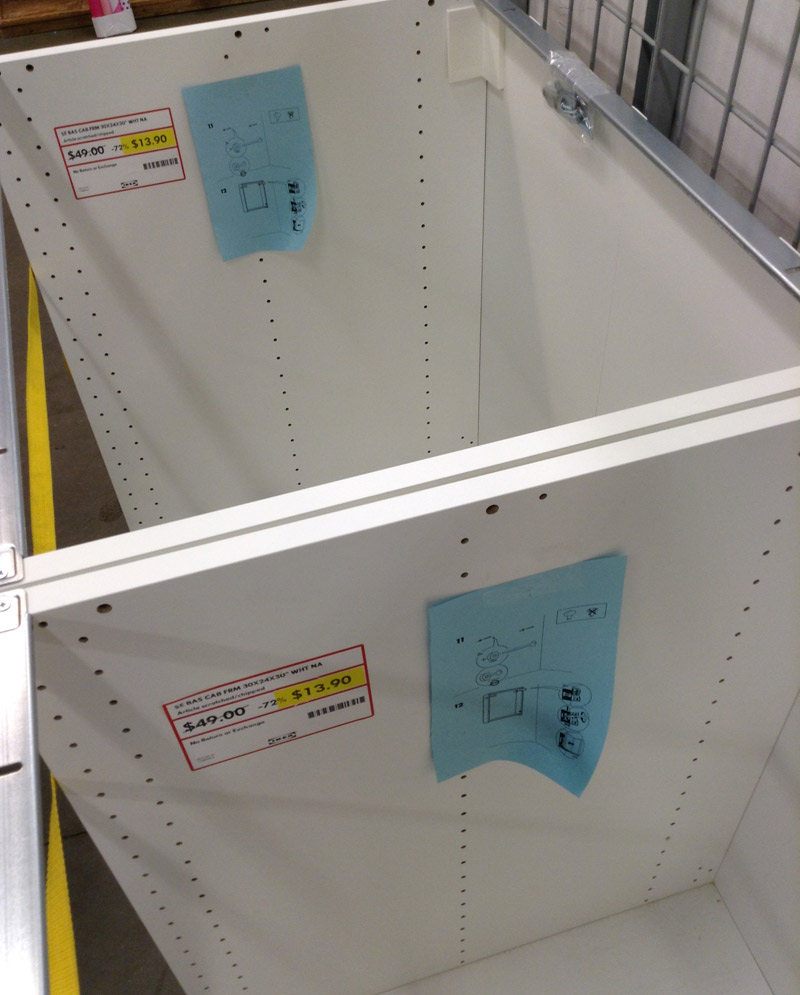
If you don’t live near an Ikea, how about a Habitat For Humanity ReStore? There are more than a dozen ReStores in Illinois alone and even more around the country. These stores sell new and used building materials at pretty reasonable prices. I headed to the Woodstock, Illinois ReStore to scope out some prices for this post:
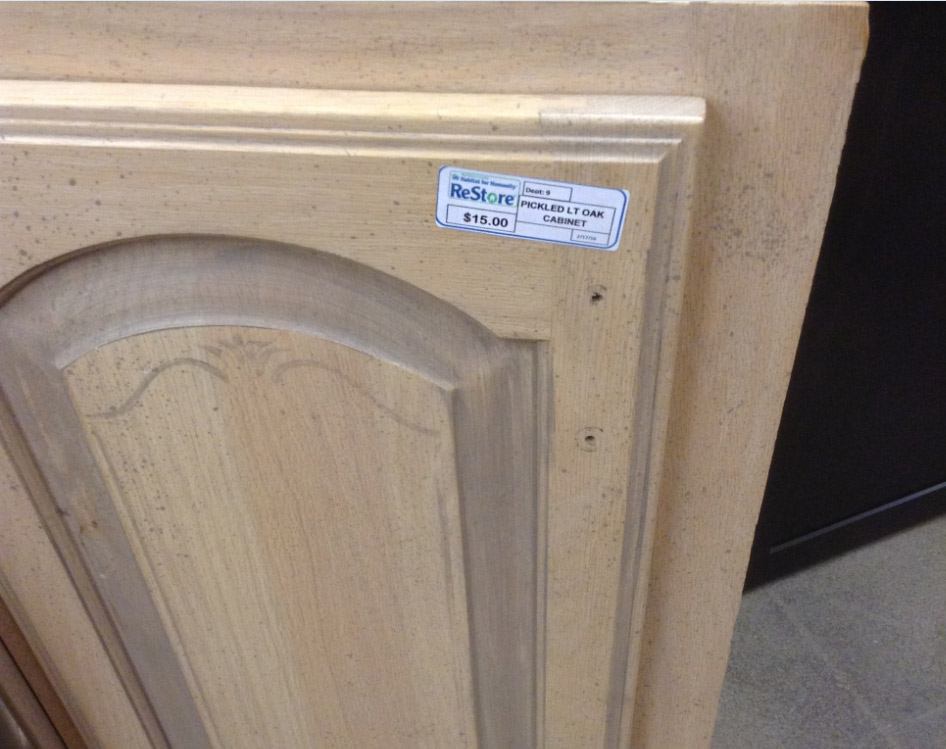
This used oak cabinet base was only $15.
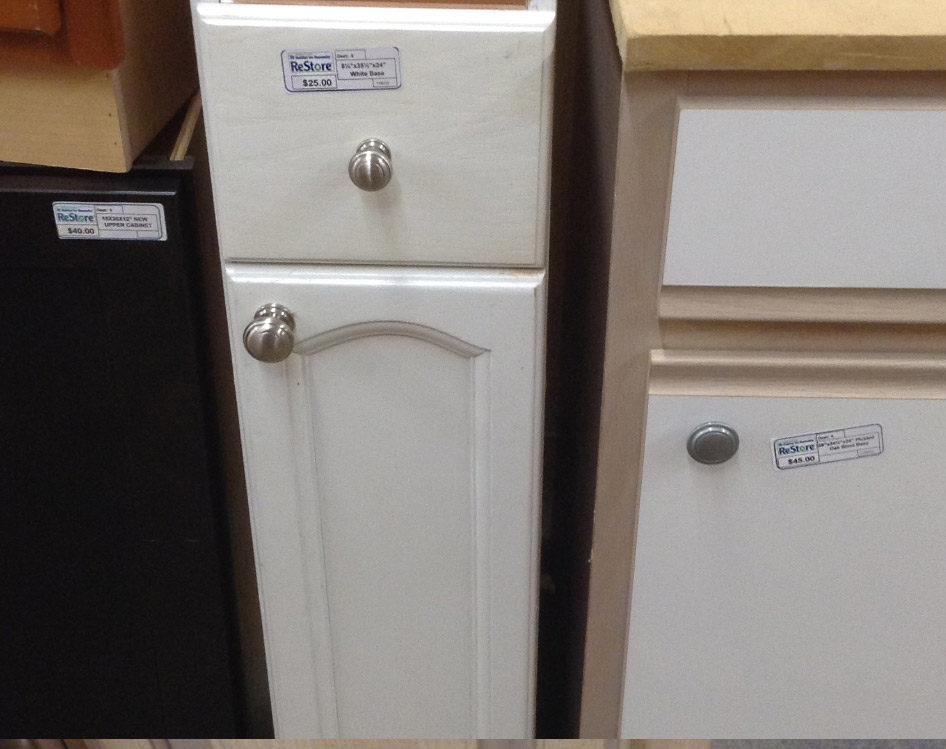
I thought this skinny 8″ wide cabinet (with a tiny drawer too!) was cute. Despite its size, it was priced higher ($25) than the larger oak cabinet base. There didn’t seem to be much rhyme or reason to the pricing at ReStore.
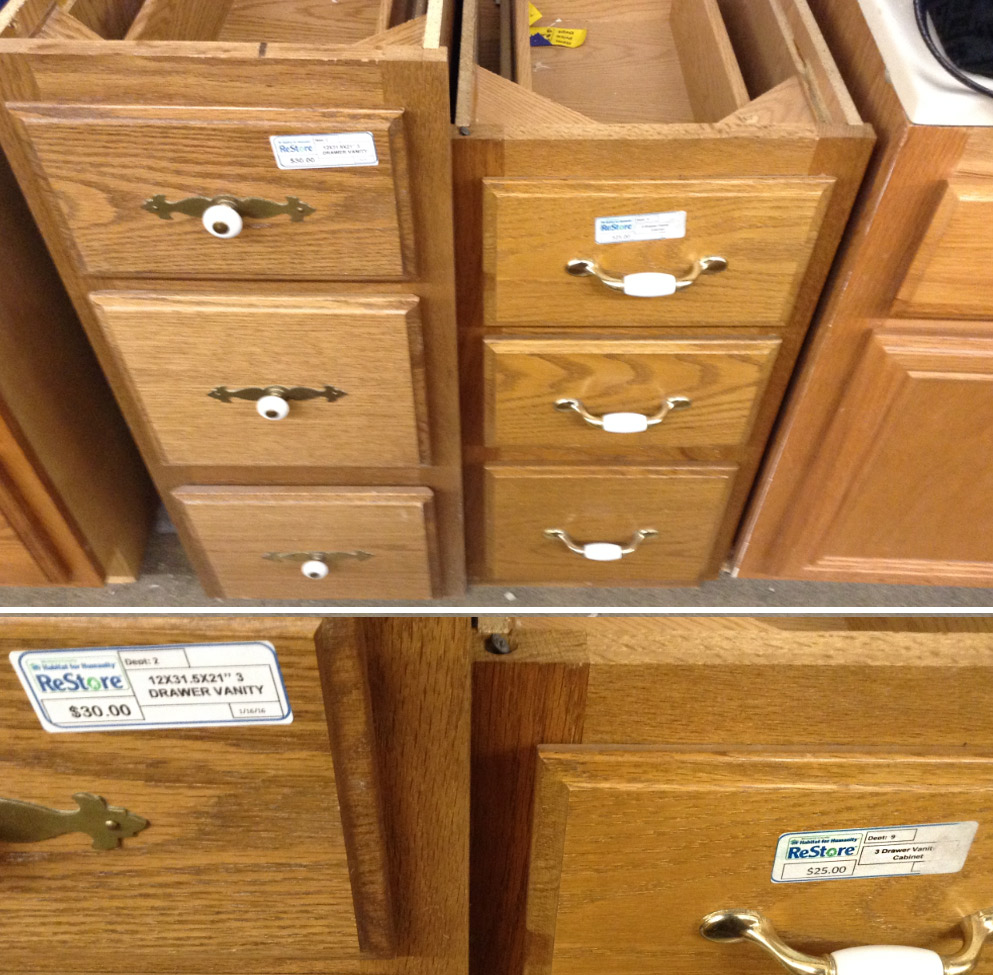
I found a 12″ wide kitchen drawer base for $30 and a vanity-height drawer base for $25.

I hope this post gives you some ideas if you decide to tackle a similar project! Who doesn’t love more counter space? Our daughter is beyond excited about her “kitchen expansion,” and she also pointed out that after she’s done using it in her college apartment, this cabinet-and-countertop would make a nice addition to our home’s laundry area in the basement as a place to fold clothes, store detergent and stack laundry baskets underneath. I hadn’t thought about it, but it’s a great idea — and I joked that it was so nice of her to be willing to give this back to me for our house in a couple of years!
Supplies I used to build this countertop extension:
- 18″ Ikea Akerum base cabinet, legs and door hinges (previously owned)
- CustomCraft 4′ laminate countertop ($15.13, Menards)
- Ikea Olov adjustable counter-height legs ($12.75, Ikea)
- Ikea Grimslov cabinet door and shelf ($5.00 and $3.00, Ikea “Handy Person” open-box parts area)
- 8′ 1×6″ pine board (I had this in the garage left over from a previous project – around $4 at a home improvement store)
- Amerock cabinet door knob ($1.05, Amazon – my filler item for a larger order. Any hardware store has these too.)
- Decko 18″ steel towel bar ($2.79, Menards – Amazon has them too)
- Other supplies I already had on hand: Liquid Nails, Loctite, craft paints, polyurethane and tools




C.D. says
Wow…you’re really handy! Turned out really beautiful.
Coupon Maven says
Thank you! It was a fun project.
All credit for my construction abilities goes to my dad, who is the most mechanically-inclined person I know. I am forever grateful to him for teaching my sister and I how to use everything from an impact wrench to a Sawzall. As kids, we grew up watching him create, build, and repair so many things, and I appreciate that he never seemed afraid to put his tools in our hands too — it’s the best way to learn. :)
Calibabydolly says
Depending on how far the microwave sticks out, you could use the rest of the space for her laptop and stick a chair under the counter? Or possibly she already has a desk. Or if there is an outlet nearby, she could put a coffeepot or toaster there. The extra lower cabinet will be nice to store cans or other pantry things in for sure! That is really cool.
Coupon Maven says
Her apartment has a built-in desk in it, so she won’t need it for that, but yes, she’s thinking she wants to put the rest of her small appliances on this counter too (coffee maker, toaster.) There is an outlet nearby, and I got her a heavy-duty power strip that (hopefully!) can carry the load of whatever else she might want to plug in there. We can either run the power strip along the counter behind the microwave or mount it underneath the countertop. She’s planning to keep her kitchen wastebasket under the counter next to the cabinet too.
It’s fun to hear about all of her apartment plans. She is in full-on planning, packing, and decorating mode. She’s SO excited about moving out (and leaving us..! Boo hoo! :)
Hudson says
Turned out great!
nomoreclutter says
Your project is inspiring!
I have a very small kitchen, but the countertop is 54 “Long X 40 inches Wide. It is open on 3 sides so things sometimes fall off.
My micro & toaster oven fit nicely on the 40″ side that is against the wall and under a wall cabinet. Things that don’t fit in the cabinet clutter up the long side. I am looking for a way to put a 13″HighX 39” Long cabinet or even shelving on the far long side, but cannot find information on how to secure the cabinet to the formica countertop. Do you have any ideas on how to do find the information or how to secure a cabinet or shelving to the formica without removing it? Would some kind of an adhesive possible work?
Coupon Maven says
Without seeing it, it’s a little difficult to understand what you’re trying to do, but I will try to help.
Are you saying that you have a floor cabinet that currently does not have a countertop on top of it, and you want to secure the countertop to it? Can you empty the cabinet and screw upwards from inside the cabinet through the top and into the plywood or chipboard backing of your Formica countertop? If you want to use adhesive, I would use something that you could remove at some point if you had to. Construction adhesives like Liquid Nails are permanent, so I wouldn’t use that. You might try a silicone caulk product around the perimeter of the cabinet top. Then, you could cut through the caulk with a razor knife and lift the countertop if you needed to take it apart.
Or, are you saying you want to put a cabinet -above- your existing countertop? If that is the case, I would mount the cabinet to the wall and not the surface of the countertop.
Diane Huebner says
Brilliant Idea! Thanks so much for posting this. We have the exact same situation & I’ve been searching online for ideas for weeks. Thanks again!
Coupon Maven says
Diane, you’re quite welcome! Hope it works out well for you — it was a fun project to build and not too difficult :) Good luck with yours!
Mary anderson says
I have a counter top that I love. Is there a way to add an extension on it so I can add stools. I Don’t want to cover the existing counter top . Maybe I can add a live edge piece of wood???
Coupon Maven says
I think a live edge counter would look fantastic – I love the look. If you want it to be free-standing, I’d suggest making it slightly lower than your existing countertop. Then you could bolt the live-edge wood to the underside of the counter, and/or the side of the existing cabinet (with L-brackets) that you’re expanding on.
suzanne bange says
i love what you did…i want to extend my idea cabinet with an apron extendsion another 2 ft would be great..I cannot seem to find the brackets I would use to add an extension on the side that i can close when not in use as they do with apron tables…i need the exact name of what those brackets are called…thank you
Coupon Maven says
I believe what you’re looking for are drop leaf support brackets: https://amzn.to/3Qh7a1n